If you follow me on Instagram or Twitter, you know that for the last few weeks I have really been working hard at getting ready for a Fall Holiday Craft show. Keith and I set up this past Saturday so we could sell some of my handmade jewelry and today I want to share the super simple way that we set up our table and show you how we maximized our space to showcase a ton of jewelry on one little six foot table!

So, the dilemma was how to show off and display almost 200 different necklaces and matching sets of earrings on one six foot table. And since this is not something we do on a regular basis, it had to be inexpensive and affordable, like my Super Easy Burlap Jewelry Displays. While I was busy making the jewelry, Keith was busy coming up with two really clever ways to display all of that product.
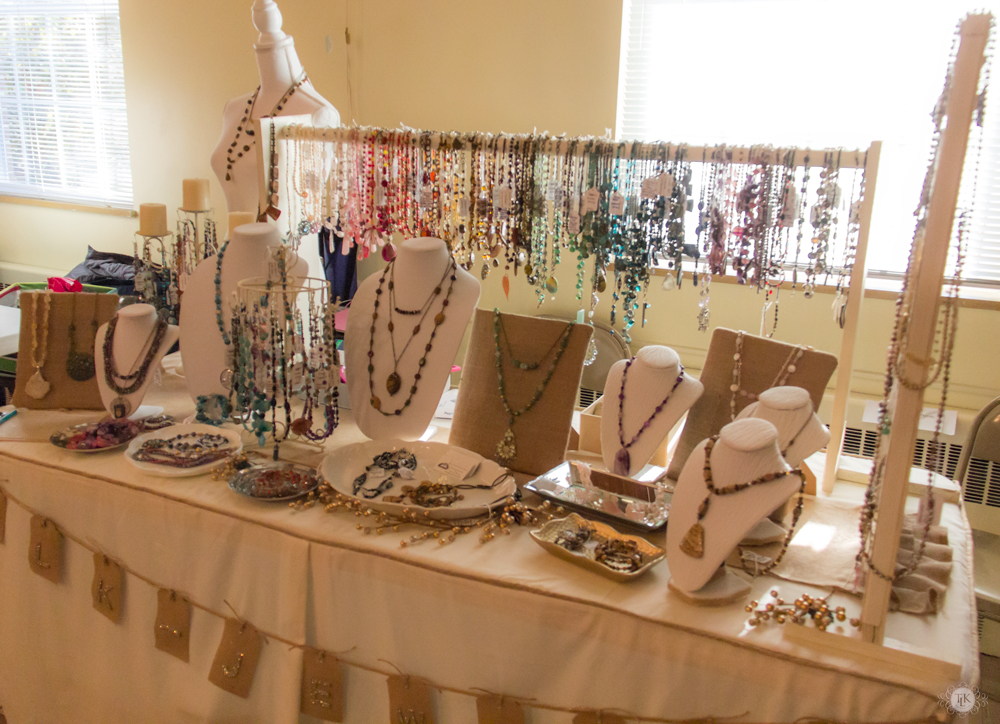
The first thing he did was design and build a simple rod to hang necklaces on. Since he used things we had on hand, the only cost involved was a can of cream spray paint. I knew I already liked the burlap look (previously I did a show with black and burlap tablecloths and silver glitter accessories) so I decided to go with cream to keep things more neutral and let the jewelry stand out.
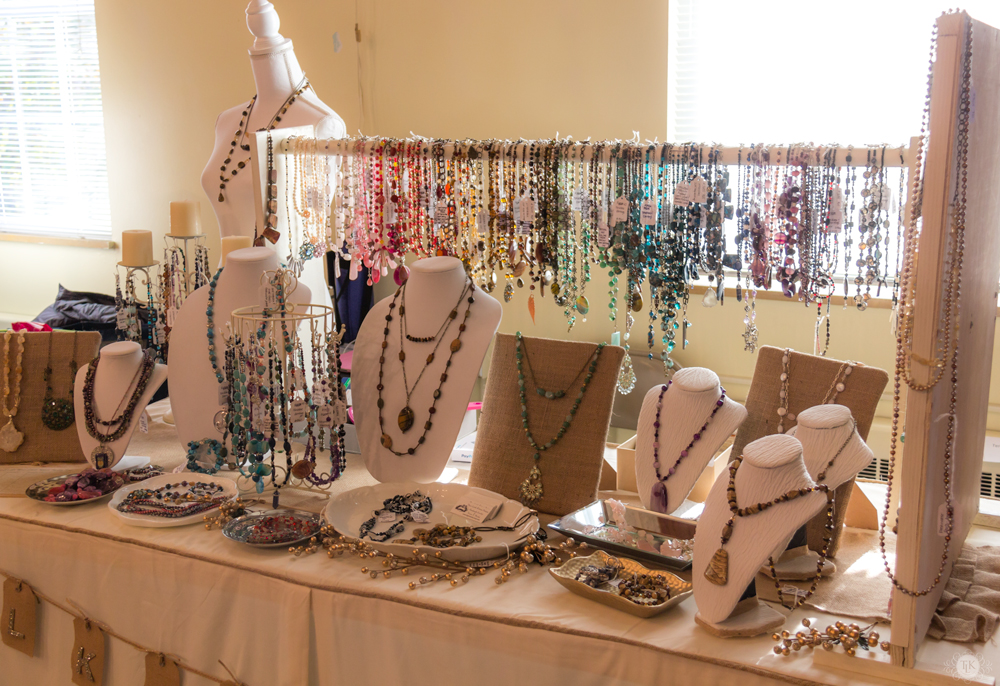
We recently redid my craft room and in doing so that left us with one of those nice thick dowel rods from the closet that Keith used as the rod for the necklace hanger. The rod was four feet long and he took a junk board that he had (it’s about 7.25 inches wide by 1 inch thick) and used it for the two ends. It stands about 25 inches tall and the dowel is installed about an inch from the top in the center of each end. It is the perfect height to hang necklaces from and the wide dowel is hefty enough to support the weight of a ton of necklaces, many of which are heavy just by themselves.
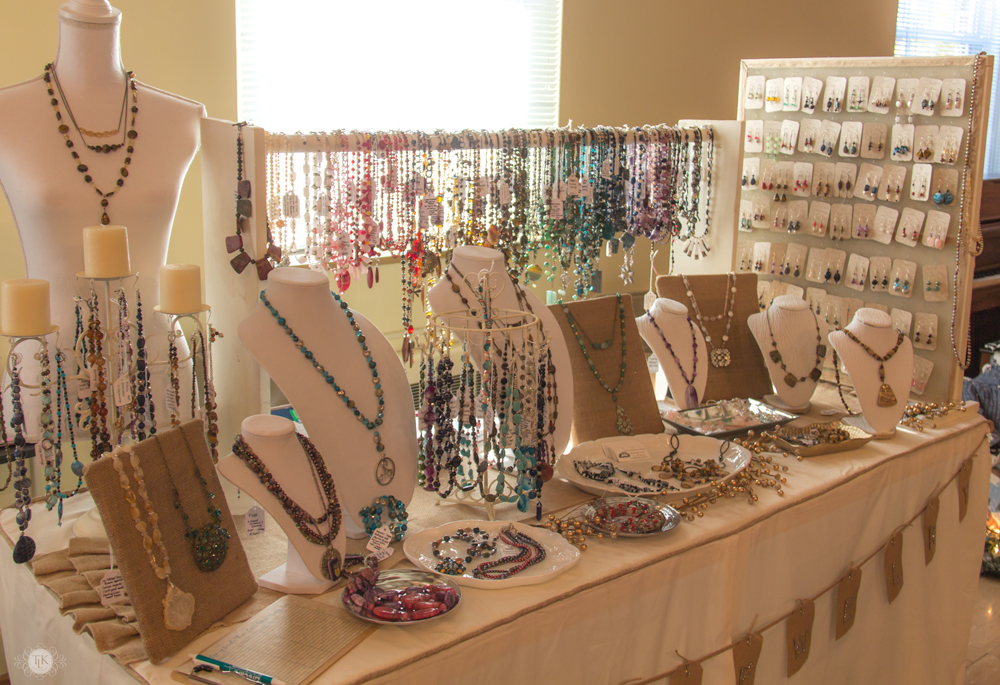
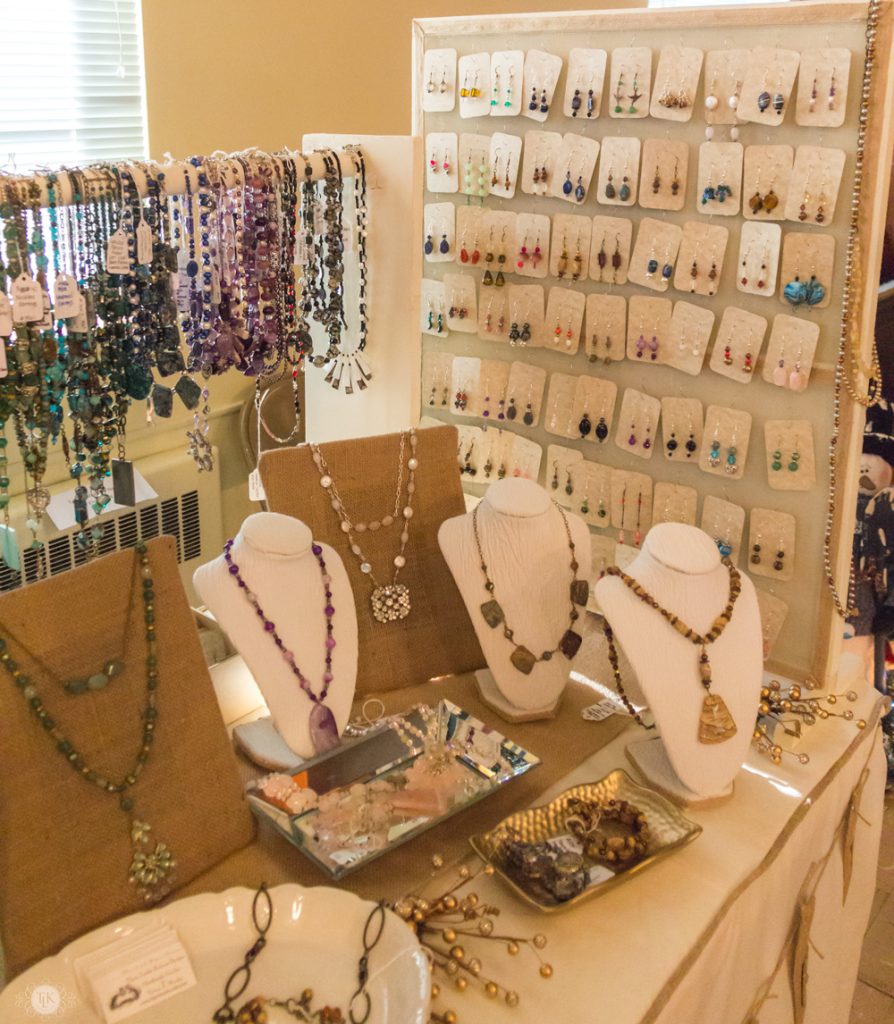
The other display piece he made was the board at the end of the table for my earrings. I have made several little jewelry storage pieces from old frames and screens and that is where he got the idea. He took a thin piece of wood paneling from another leftover craft room project and used it for the back. He added little one by one inch strips of wood to make a frame and legs and then I stapled an old wire screen on top of the frame. I spray painted it the same cream color and hot glued burlap ribbon around the edges of the screen to protect from the sharp wire edges. I bought some $0.98 metal Christmas hooks and used my mandrel to shape them into S-hooks to hang my earring cards on. The display is almost 30 inches tall and two feet wide. And how the size was determined was simply by the size of the leftover panel piece that we had on hand. I had 70 sets of earrings on that little board. I probably could have fit another 10 or so if I spaced them a little closer. But as it was, that was really a perfect size for our table.
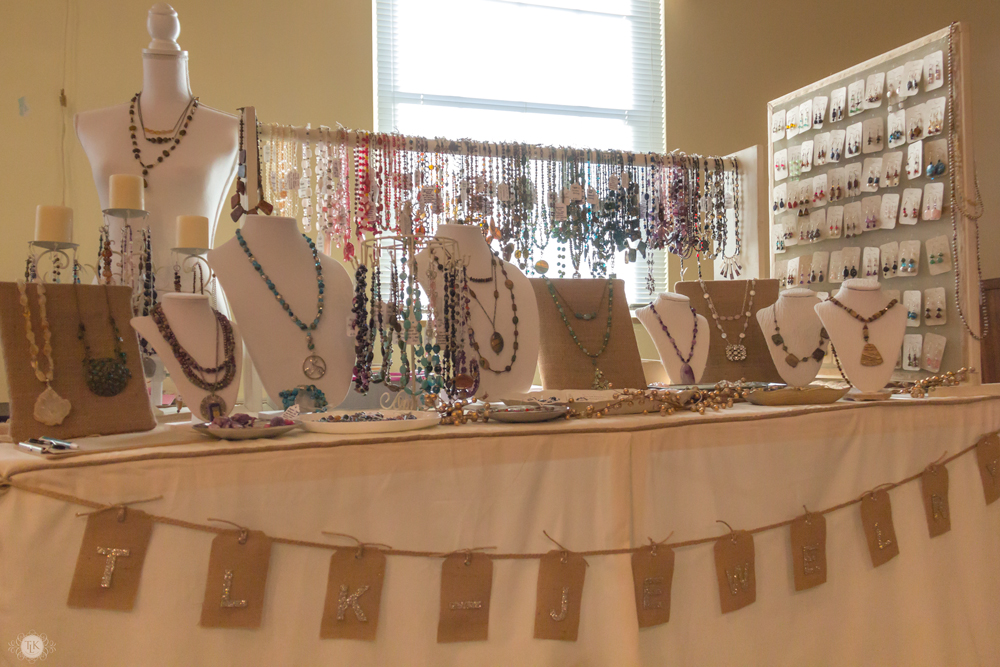
I made the tablecloth using some flat sheets and ribbon. I used a burlap ribbon to make the custom piping and then I cut a piece from a full flat sheet for the table top (I used a standard six foot by 30 inch table for the pattern) and used most of two twin flat sheets for the skirt. I was a little rushed to get the tablecloth made, so using the sheets was not only inexpensive but a time saver. By strategically cutting the twin sheets down the middle I was able to use the hemmed outer edges as my hems on the skirt, attaching the cut edge to my top piece with the piping. I chose not to ruffle but to use a single pleat on the front and back of the table, which took one flat twin sheet completely. I used part of the second twin sheet for the sides and simply overlapped the front pieces to continue the single pleat look. And yes, I love buntings and banners, so you know I had to make one using some precut burlap tags and glitter adhesive letters. I attached them to a braided piece of jute ribbon with sparkly glittered twine. I got the supplies when they were on sale at Michaels and when I had a twenty percent off entire purchase coupon so that helped keep that from being too pricey.
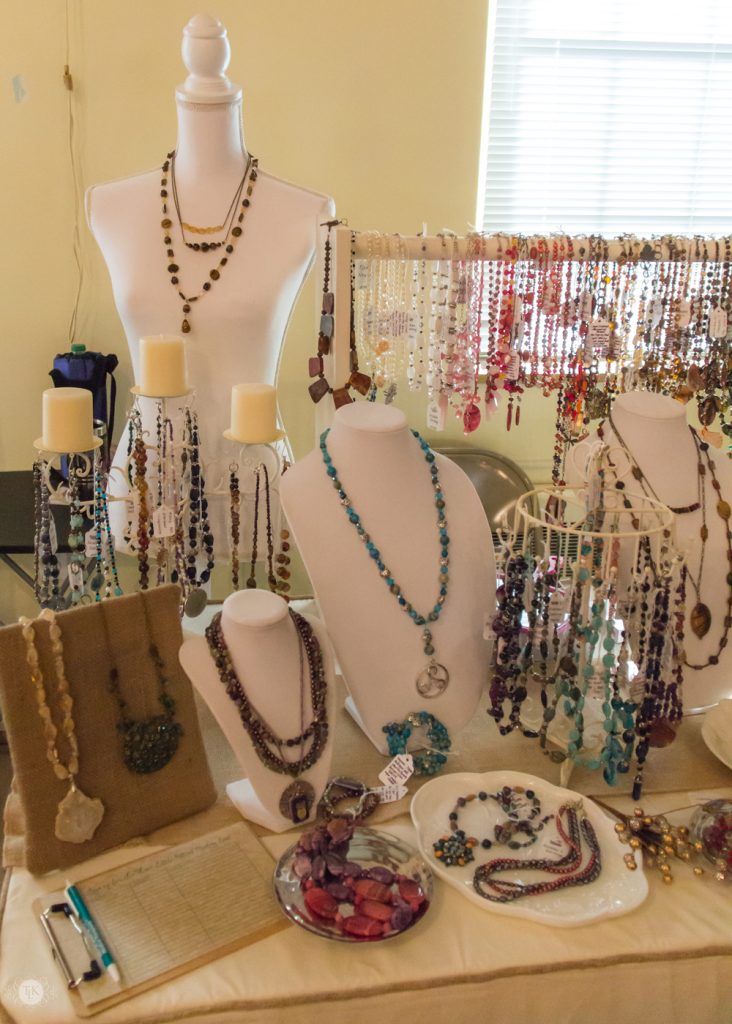
I already had the little round metal necklace rack and the candelabra. I had used them before but they were black. So I painted them cream. I can get a lot of necklaces on those two little gems. Oh, that candelabra? I found it many years ago at Michaels when they put their Halloween items on clearance. It was black and had these plastic crystals dangling under each candle holder. I removed the dangles and Keith made little metal hooks that I put in their place. It’s a neat way to display 18 necklaces in a small space.
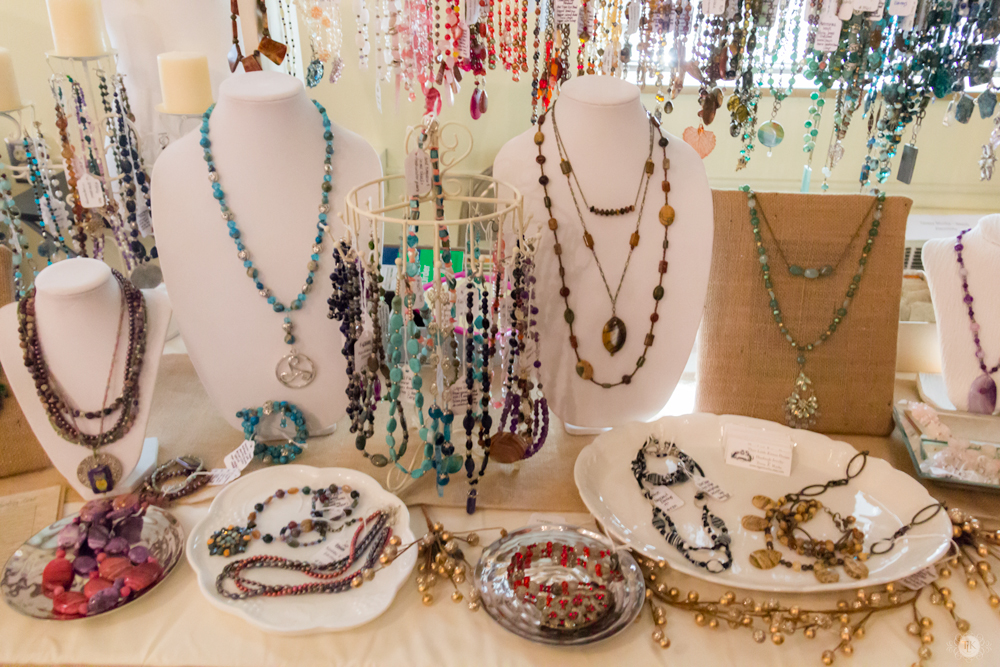
Underneath the jewelry forms is a burlap bunting with ruffled ends that I found on sale at JoAnn’s with another percent off total purchase coupon. The ironstone platter and milk glass lap tray are pieces I picked up at yard sales. The platter set me back a whole $1 and the lap tray was a quarter because it was missing it’s matching teacup.
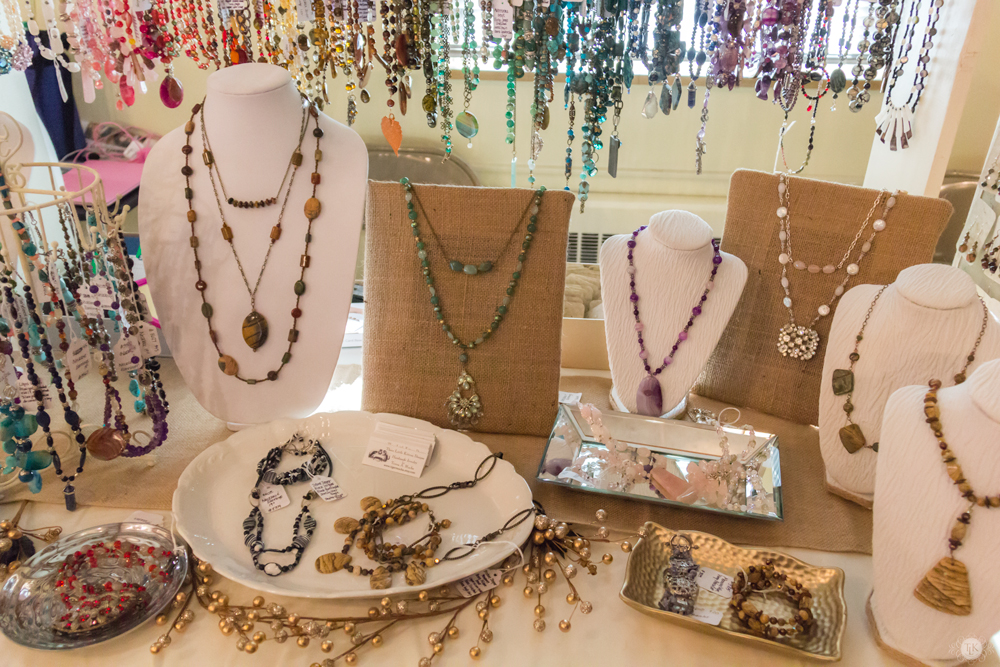
The little round metal trays were picked up at Big Lots for under $5 and the mirrored tray was another clearance special from Michaels years ago when I got the candelabra. The little nickel finish ceramic tray in front is from a Bath and Body Works gift set someone gave me years ago. I think I will look for more ironstone pieces to replace the metal trays next summer at yard sales. Oh, and those three little jewelry forms? They were originally those black velvet ones you see in the craft stores. But I recovered them with an old dropcloth that shrunk up when I washed it. It turned into this stretchy, crinkly mess after I washed and dried it and it worked perfectly for covering the forms. I used some of the burlap and woven jute ribbon to cover the seams.
I think they turned out pretty darn good! And my burlap covered frames are still going strong! Those are a favorite – they were easy to do and the neutral color really displays jewelry well. Some of the pictures are not the clearest…the light in the room where we were was not great. And we had this morning sun peering through that window behind us most of the day which did not make the most idea lighting for taking pictures.
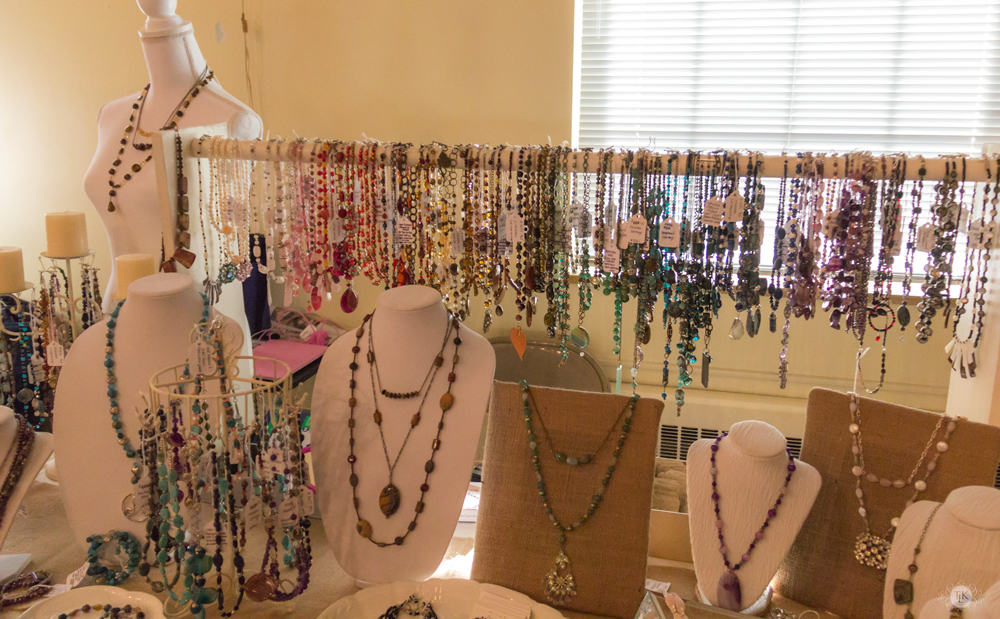
But, that necklace display really was something when the sun was shining through it. One of the vendors on the other side of the room said it looked like stained glass and she loved the rainbow of color. Well, the rainbow of color I can take credit for. With so many necklaces, I thought I would use the old ROYGBIV method to show them off. Each letter stands for a color and is a way to colorize items so that you have consistency in multiple displays in retail. Not sure if it is a science or not, but it is easy to remember: Red, Orange, Yellow, Green, Blue, Indigo, Violet – I added White, Cream and Pink before the Red, threw some Brown in before the Green and added Gray and Black to the end of the Violet.
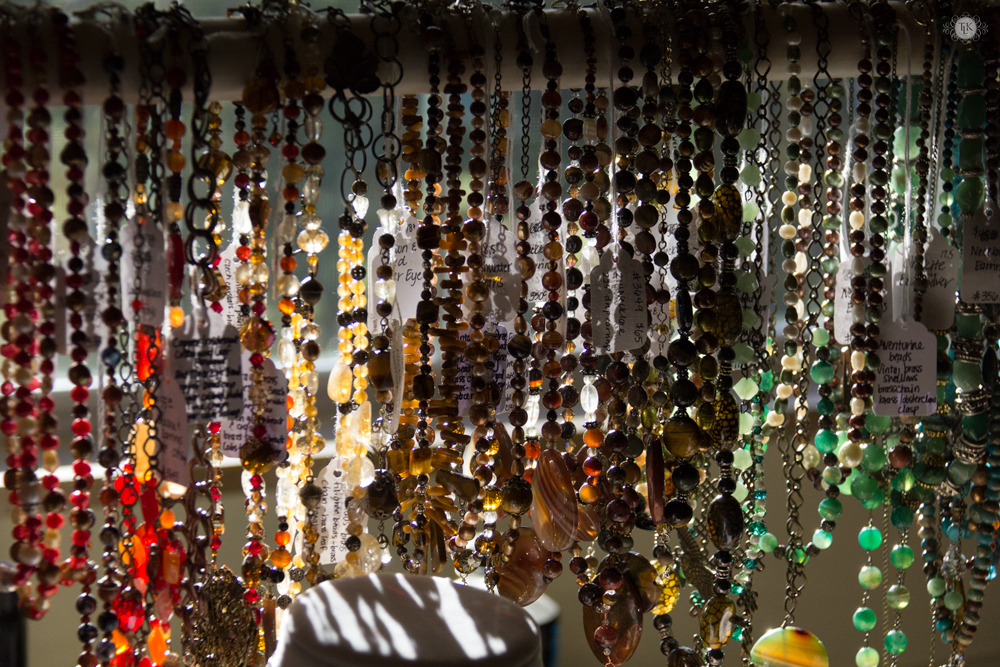
It really was pretty when the sun hit all the gemstones and crystals at once.
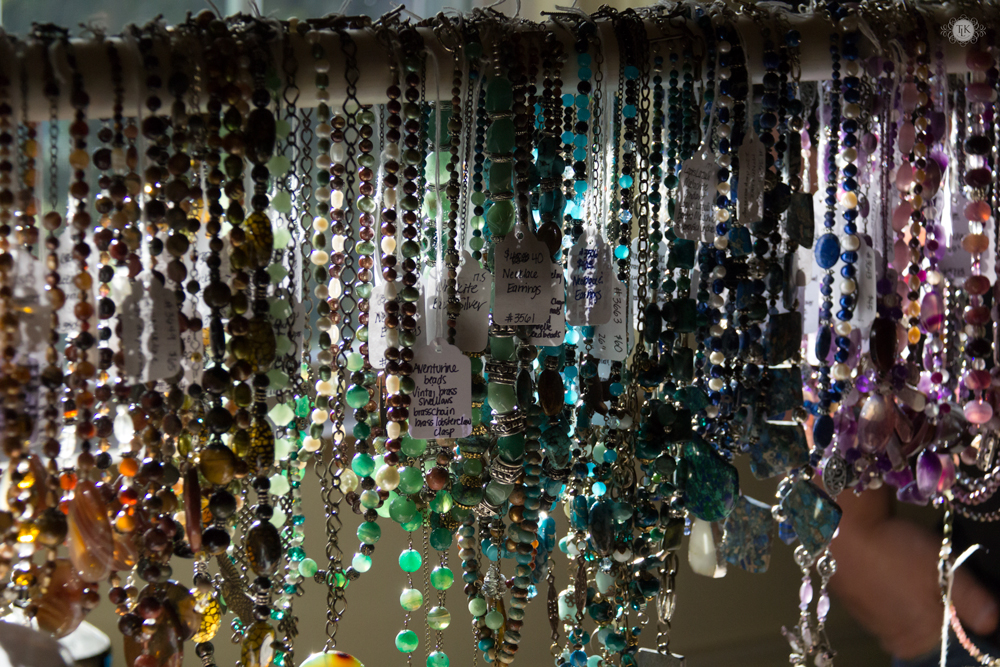
Man, I really have a lot of necklaces.
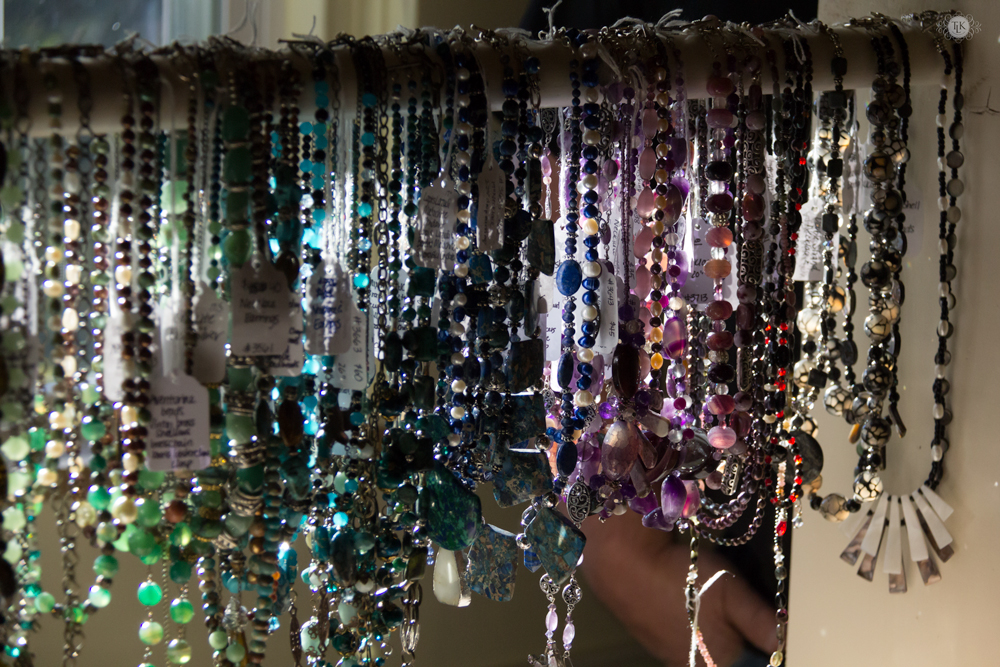
I mean a LOT of necklaces! Wink!
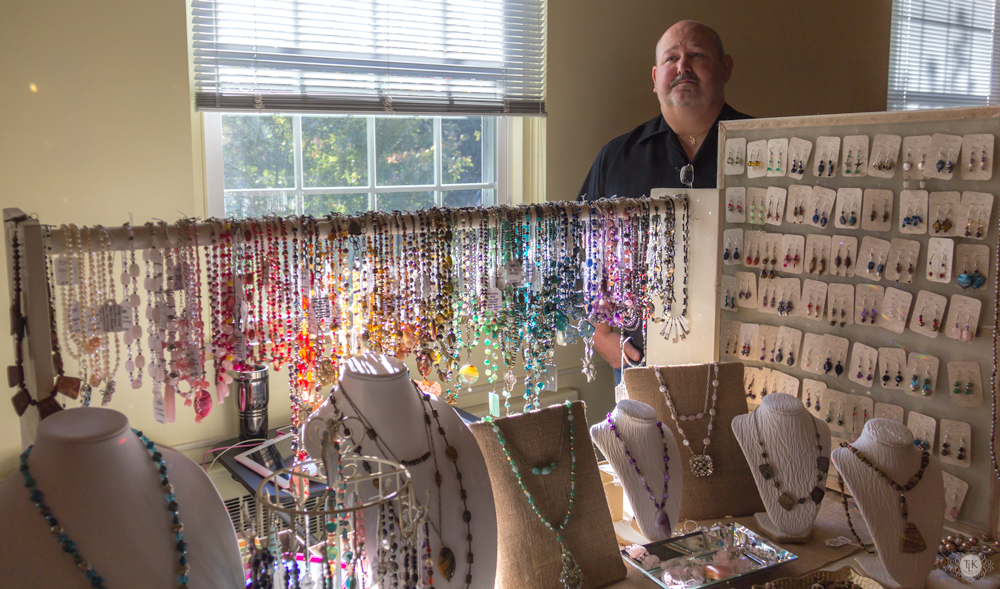
And there is Keith – he helped me set up and stayed the entire day. He was a great help and I really do love his displays that he made.
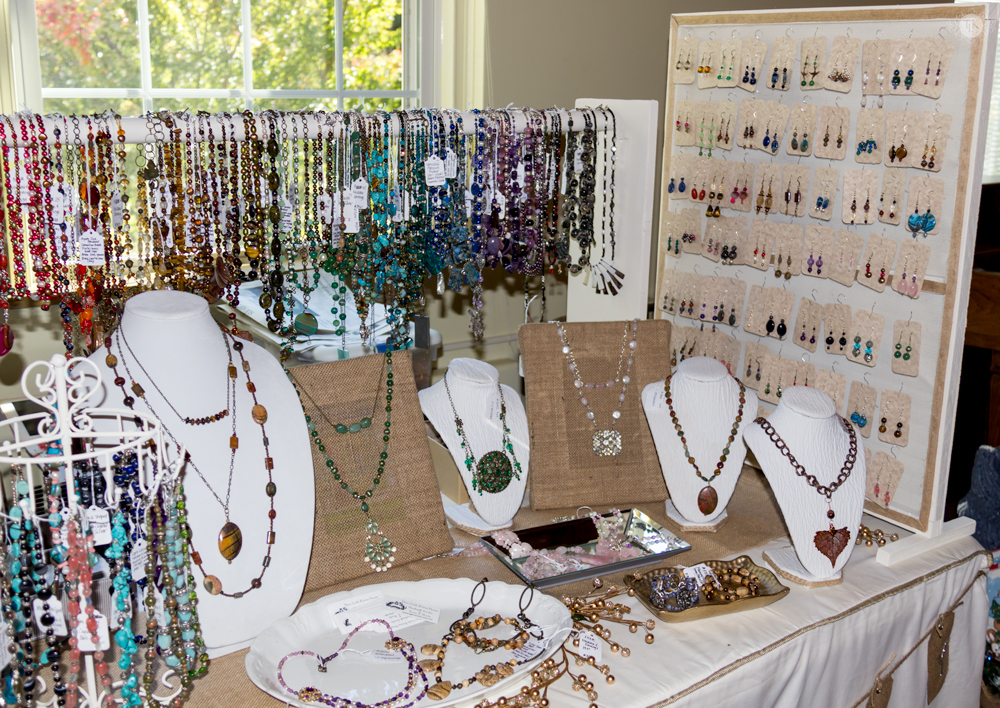
I never would have been able to get a fraction of my jewelry out had it not been for those displays. Oh, and I cannot forget my little Moo Cards! They are kind hidden because they blend in with the ironstone platter, but that’s where they are in this photo. If you decide to order, you can get $15 off (and I get a little something, too) your first order. Here is the affiliate link! I use their matte laminate mini cards because they are great for tucking in with a purchase!
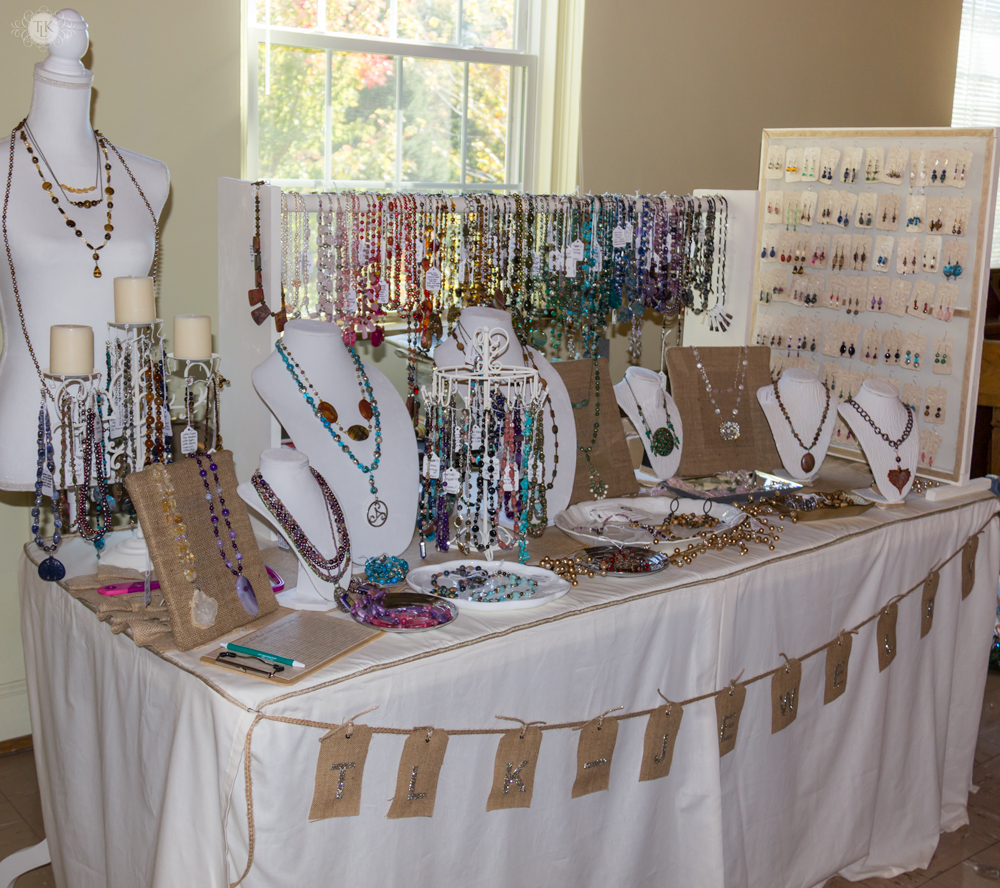
Here is a better view of the side of the tablecloth. Using those sheets really made this project come together quickly. I used 200 thread count cotton sheets that I got at Walmart. They were very inexpensive and should hold up to washings and wear and tear. And I used my hand steamer to help get most of the wrinkles out when setting up. The banner says TLK-JEWELRY: TLK stands for Three Little Kittens. And is also stands for Teresa Loves Keith!
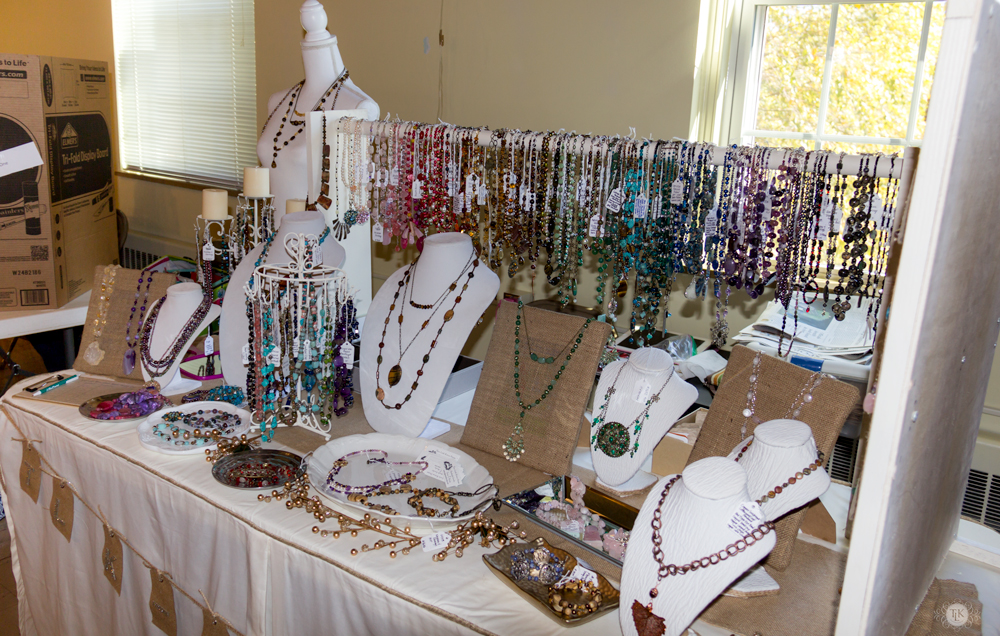
As you can see from all of these pictures, we really did maximize our little space.
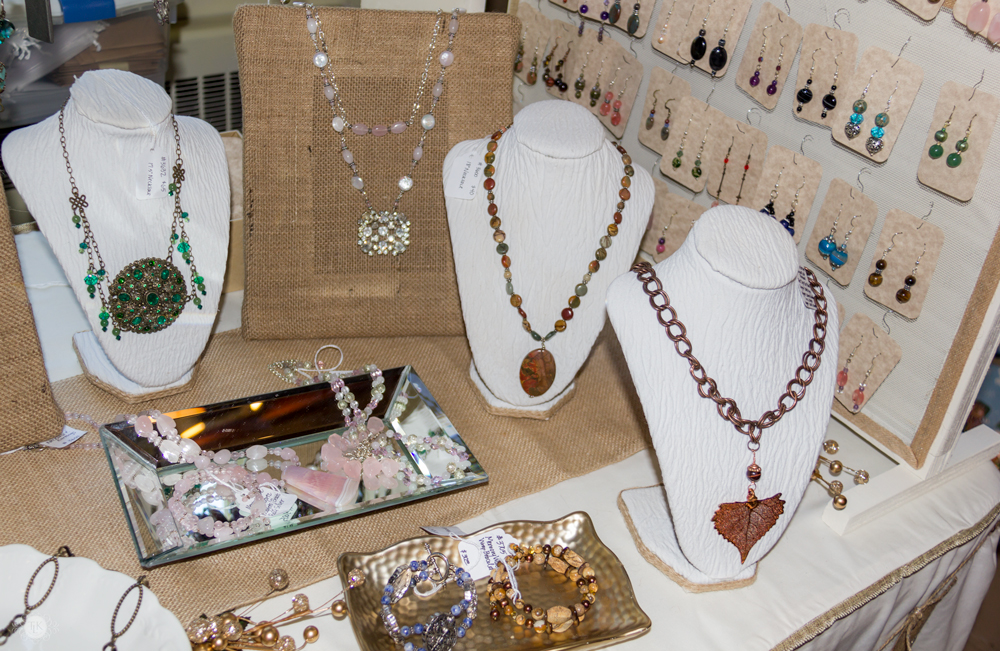
Here is a better shot of those jewelry forms that I recovered. See how crinkly that drop cloth got? I don’t know what happened – I had washed it and dried it to cut up and make a slipcover with for my chair in my craft room and it went all wonky on me. I had no clue what I was going to do with that shriveled up piece of canvas. I am glad I thought to use it for recovering these. The crinkliness added a nice texture to them. A lucky win on that project!
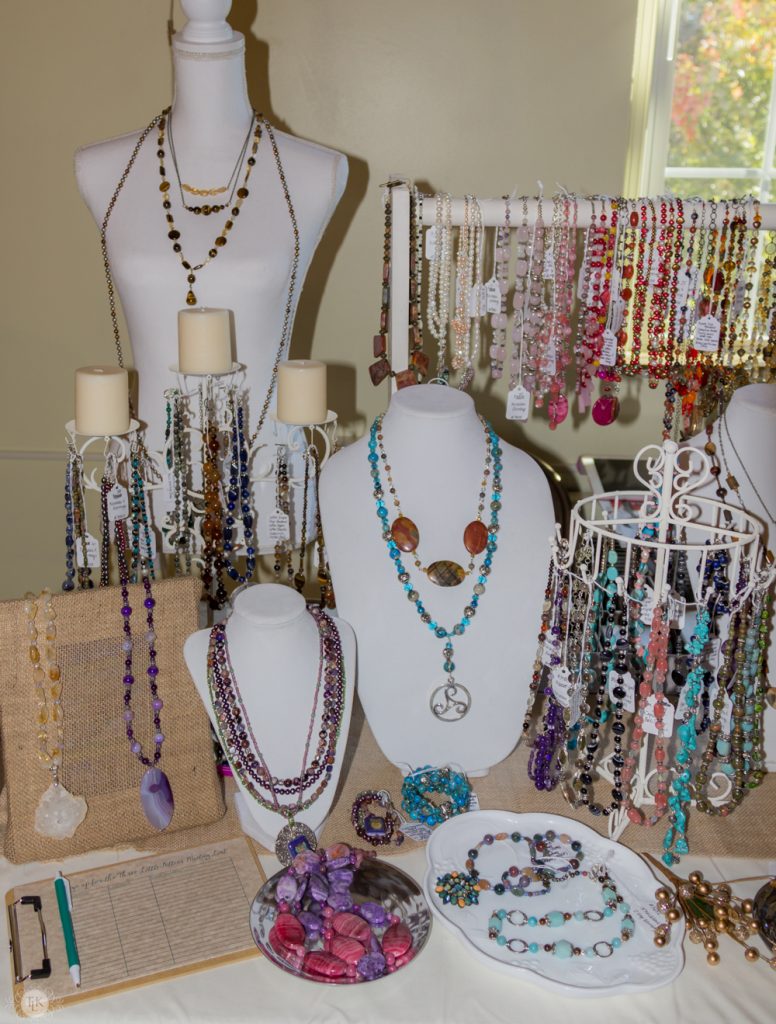
And I brought my dress form from home to help display some of the necklaces. And if you follow on Instagram, you also know that Keith brought a new girl home for me – Maud!
She’s an original Wolf Form and she is amazing! Keith really has supported me with my jewelry making! He is amazing, too!
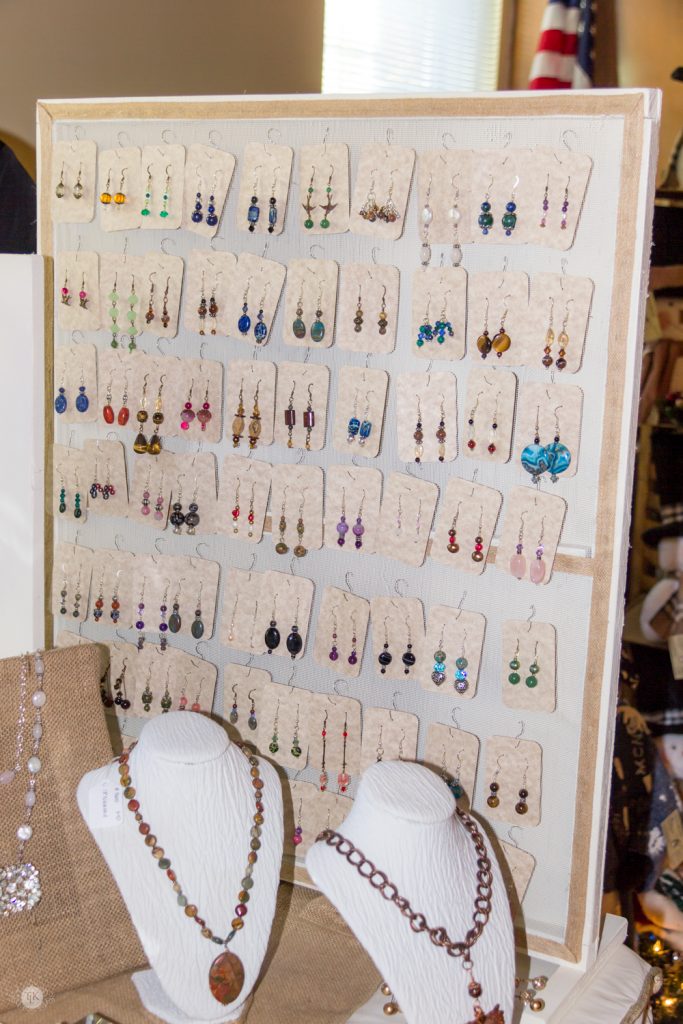
Here is another look at the earring display. Seventy pairs there! With room for more! I never would have thought to make the displays that Keith did. It really helped get things set up so that we almost looked like we might know what we were doing (insert smile here) but seriously, it was all about making the most of our little space and I think we did that.
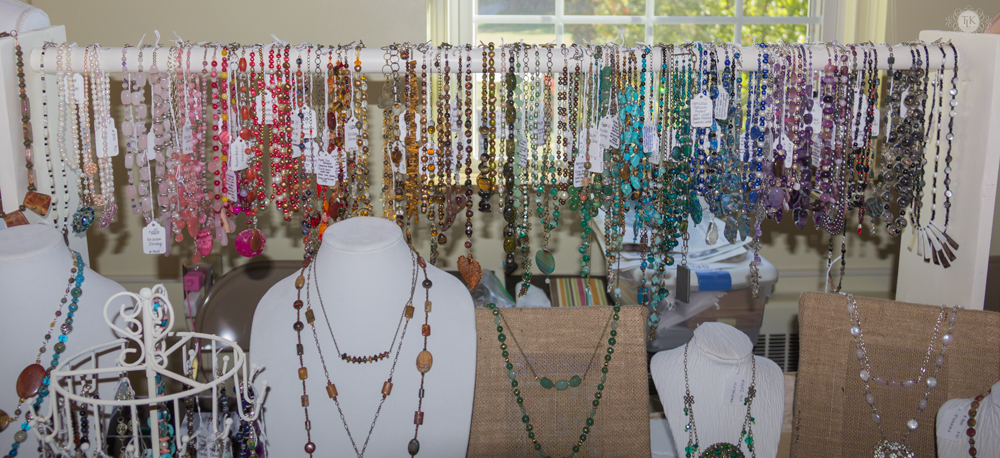
It was a fun day, we sold some pretties will be ready to do this again some day. Thanks to Keith and his clever ways to maximize a table!
Leave a Reply