Ok, this is going to be a first for me….I am going to attempt to share a cute Thanksgiving Craft Project with you. There, I said it. I have been wanting to make a cute little Thanksgiving Bunting or Banner to decorate my mantle in the dining room for a while. Buntings and Banners seem to be a new hot interest for me. Prepare yourself, this will be a long entry!
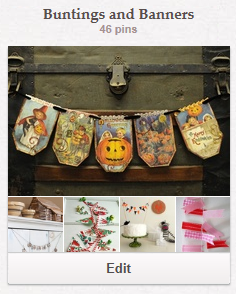
It started a few years ago when I got a funky, glittery Halloween banner at the craft store. It was premade, all I had to do was just put it up and viola! Instant cuteness! So, when Pinterest came around I started following buntings and banners and created a Buntings and Banners board to collect inspiration for what I wanted to make.
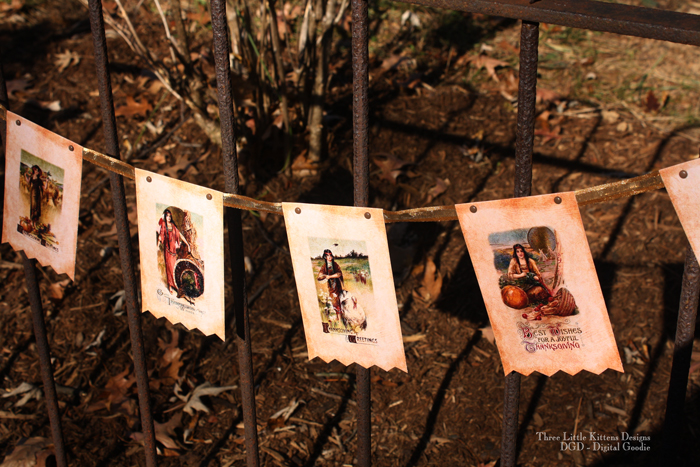
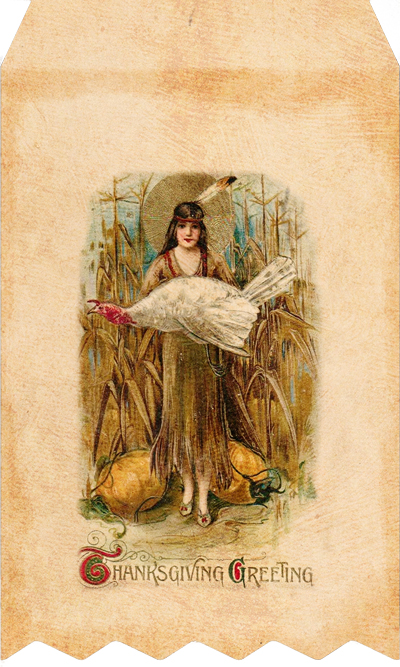
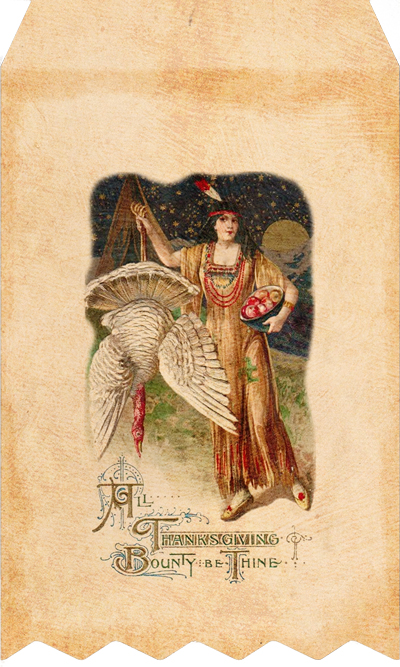
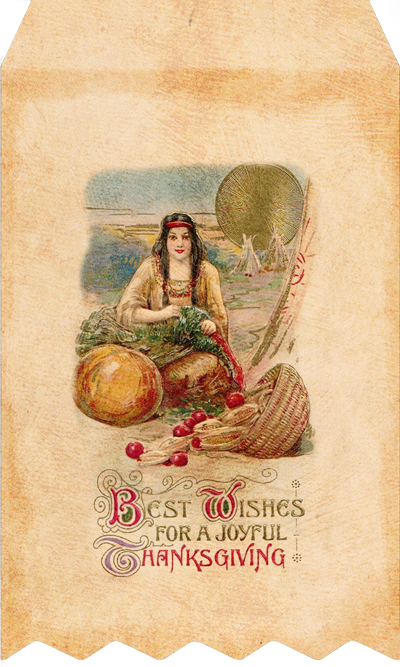
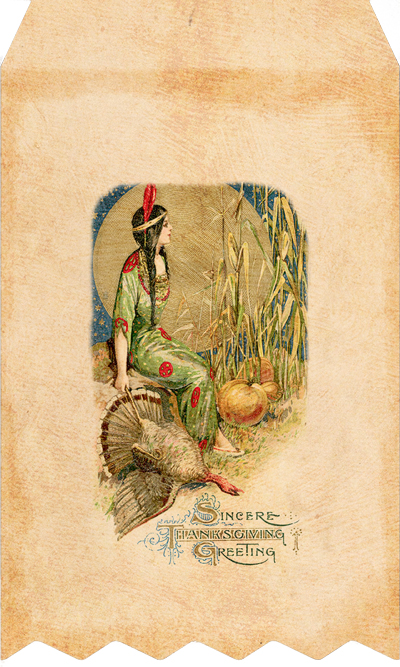
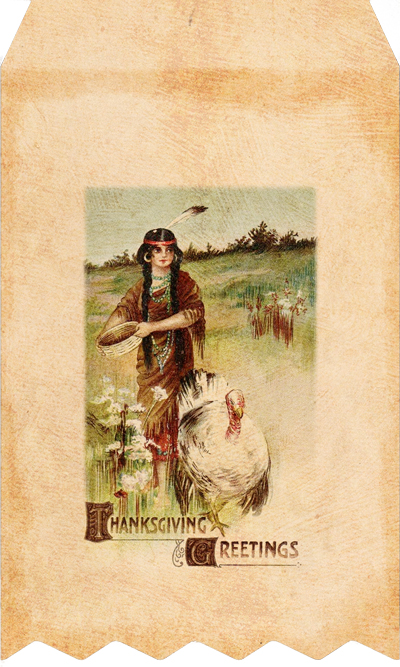
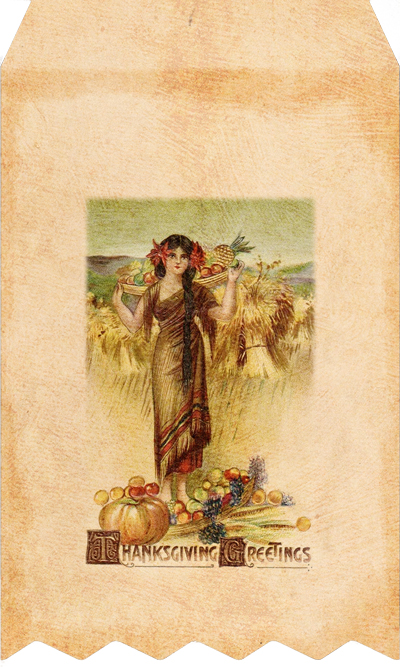
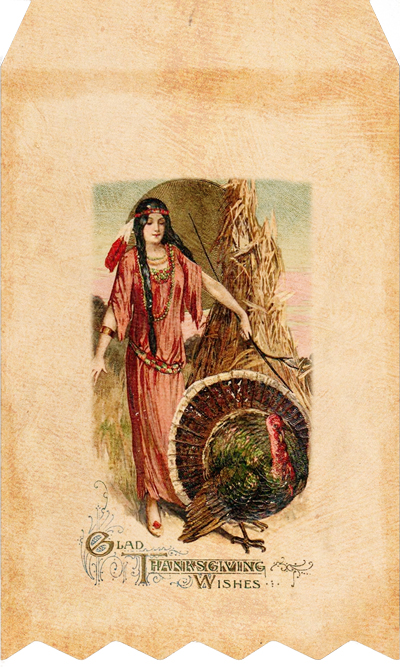
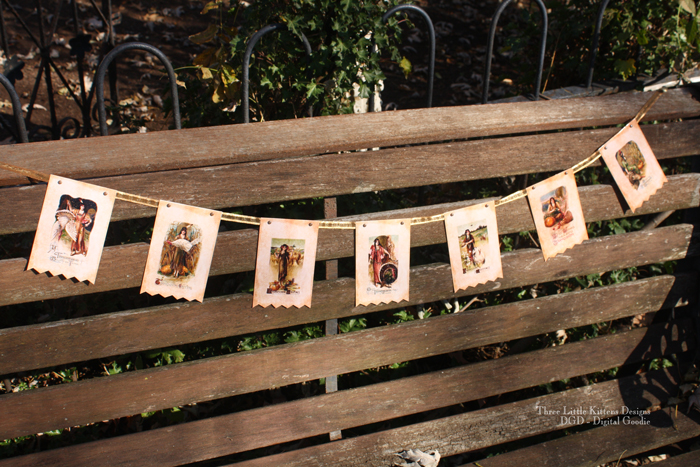
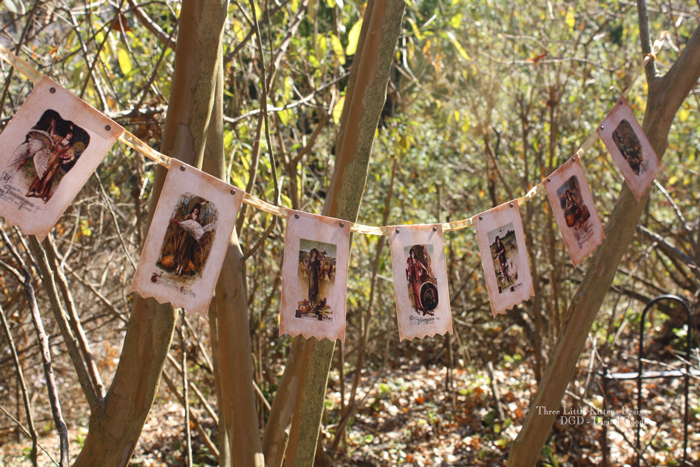
There are soooo many cute ideas out there, and soooo many different kinds of buntings and banners. Well, after a lot of browsing I finally decided on how I wanted to make mine and went to work creating my banner parts. I used some of my vintage postcard images to create the individual “flags” of my banner. I chose to use seven different images of Indian Maidens from my vintage postcard collection of images.
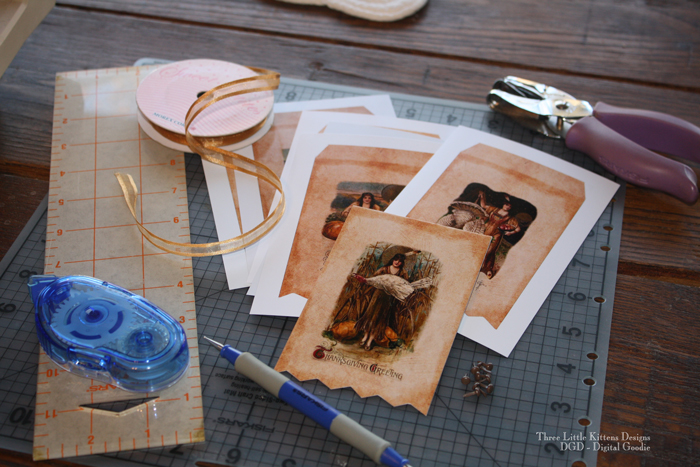
So, let’s get started on this project. Below is what I needed to complete mine. This banner could be made many ways, so you don’t have to do yours exactly like mine unless you want to.
This is pretty much all that you need if you want to make yours like I made mine:
- Your images printed out
- Something to cut them out once printed (cutting board, exacto knife, scissors, etc.)
- Straight edge and something to score the images with (embossing tool or bone folder or even just a bluntly sharp object)
- Glue or tape
- Ribbon, string or twine (whatever you decide) at least 48″ (depends on how long or short you want your banner)
- Something that you can use to punch a small hole into the images with (hole punch, piercing needle, etc.)
- Brads
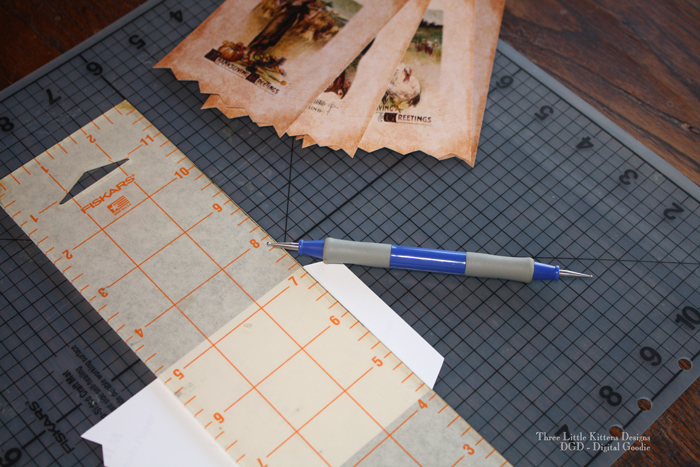
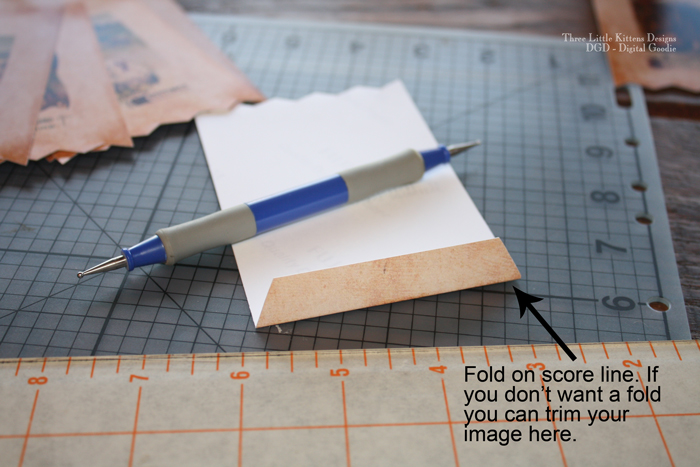
The first thing you need to do is cut out your images. I created a zig zag border on the images, but you could use a decorative border punch or decorative edge scissors or just make a straight cut. If you choose those options your images will be smaller than what is shown. Next you need to score the images where you want the fold to happen, which is where the angles meet the straight edges at the top. You don’t have to score the images, but I find it makes folding easier.
Then you are going to simply fold all or your images on your scored lines. And, the way I designed the images, you can also lop off the top when cutting out if you don’t want a fold or you want to use for another type of project.
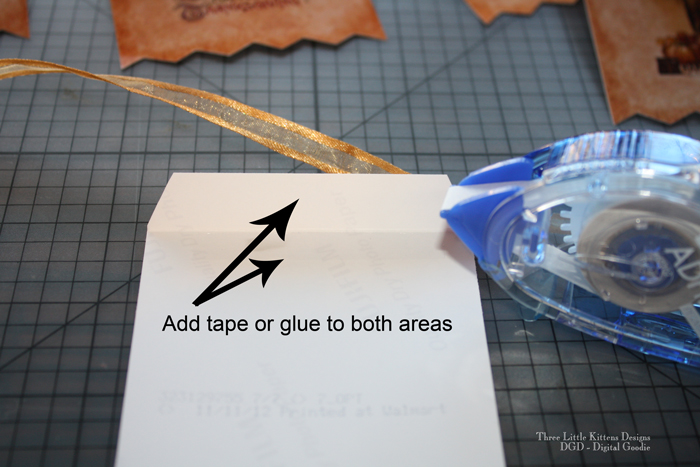
Okay, this next step may or may not apply, depending on how you want to adhere your images to your ribbon or string. I used a glue tape runner to add two strips of glue tape inside the edges of the fold, one on the top and one on the bottom. The fold is about 1/2 inch, so you have room for a decent size tape. You could also use a glue stick, pieces of tape, whatever works for you or whatever you are comfortable with. Or, if you want your images to be movable on your ribbon, you would leave this step out completely. I like mine stationary, so glue for me.
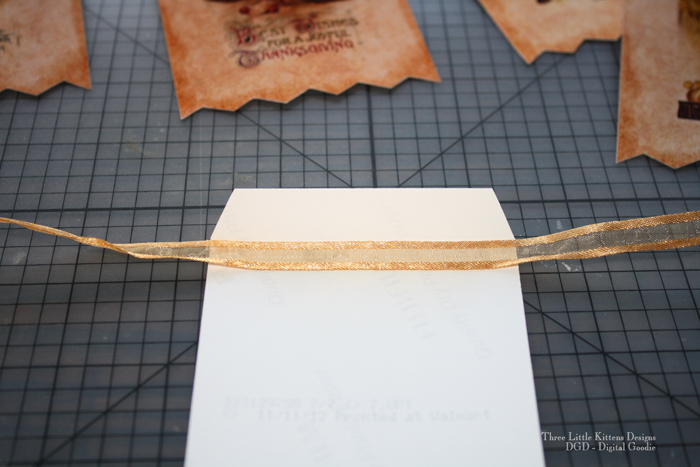
I started my banner in the middle of my ribbon. You can start anywhere, but I like starting there, so I can easily make adjustments to then ends if I need to. Place your ribbon on the bottom strip of glue, making sure it is adhered well.
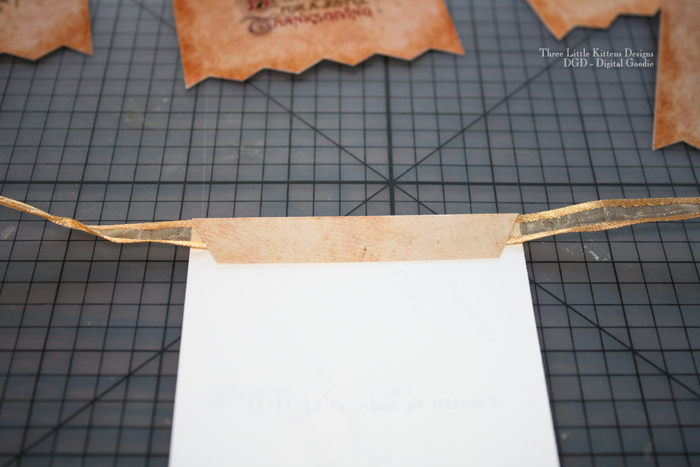
Now, fold over your top and adhere to your ribbon. I used a thin, narrow flat ribbon. The more bulk you have in your ribbon or string, the more bulk you will have in your fold. Keep that in mind when picking your stringing material. Thins and small diameter strings and flat narrow ribbons work well with the small size of these images, which when I printed are about 3″ by 5″ before the fold.
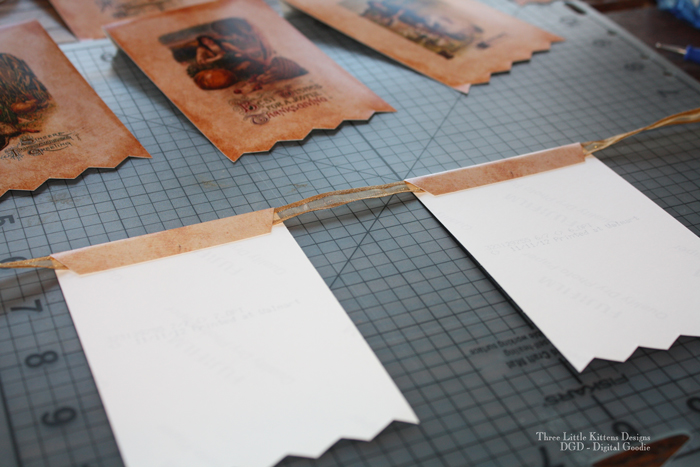
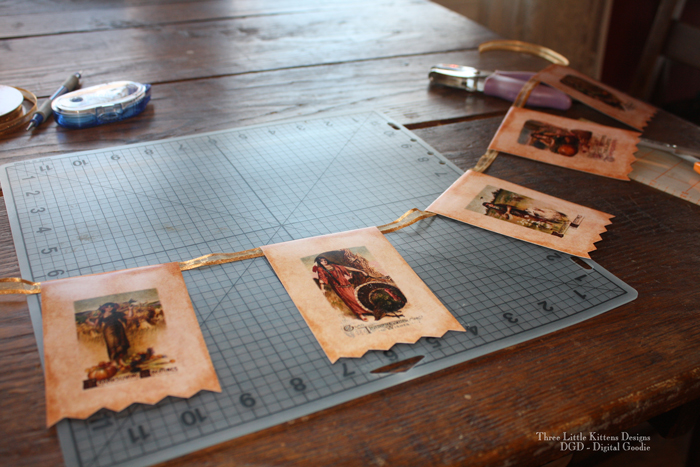
Continue adding your images. I spaced mine about 2″ apart. Spacing is up to you. By spacing mine this way I was able to use a 48″ piece of ribbon with plenty of room on each end for tails to tie off or hang.
Ok, here is where we are now. Just a little more and mine will be done, however, if you are happy with the banner at this point, you can call it a day. I want to add brads to mine so I have a little more to complete.
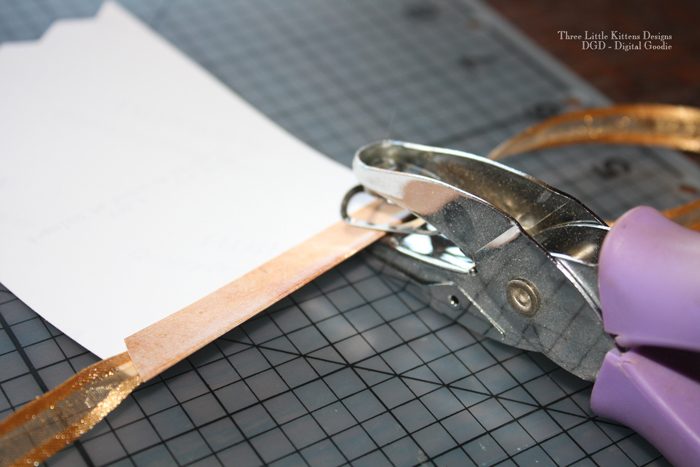
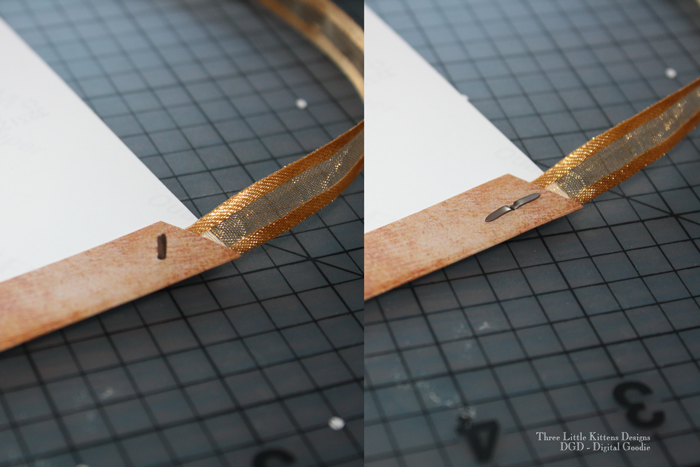
Now,flip your images back over and place two small holes on each side. I used a hole punch with a tiny diameter and placed mine about 3/4 inch in from each end. Wherever you decide to put your hole, make sure that you go through both layers of the image AND the ribbon so that your brad will go through all three layers. This will provide security! If you are using a string, make sure that your hole is below where you string will be.
Then I placed my brads into the holes, opened them up on the backside to secure and completed this same process for the rest of my images.
Now I’m done. All that’s left is hanging this cutie up somewhere. I know I said I wanted this for my mantle, but hmmm…I may have other places this looks good, too.
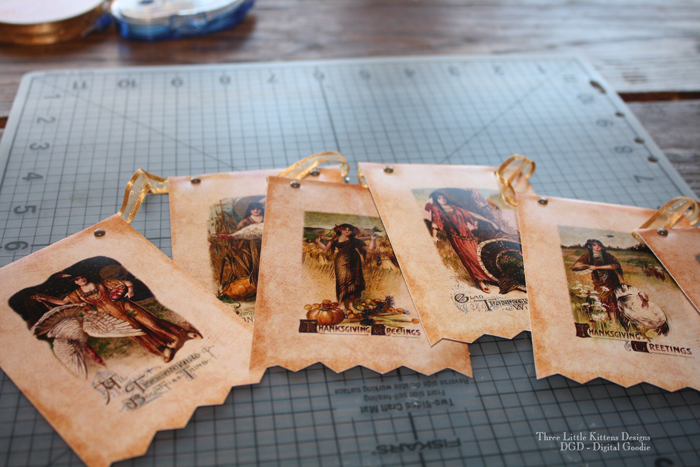
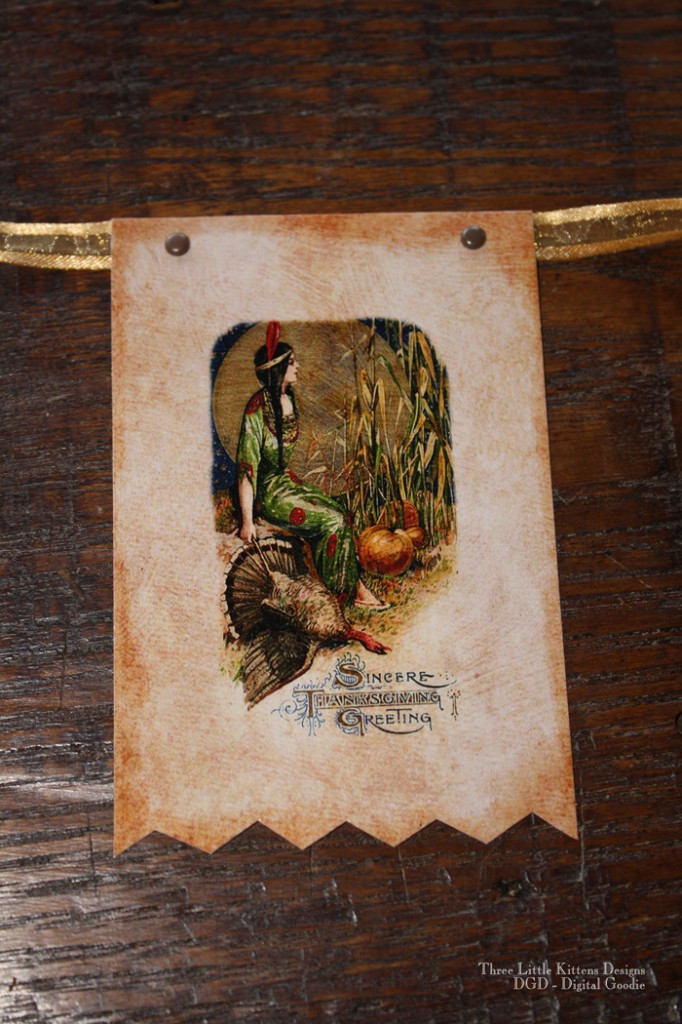
Here is a shot of what one of my completed banner sections looks like. I like the brads because I know that sometimes the glue and ribbon don’t always want to gel. And, the images were printed on a photo paper, so that can also cause things to come undone when you least expect it. The brads will help provide another layer of security to ensure my images don’t pop off unexpectedly.
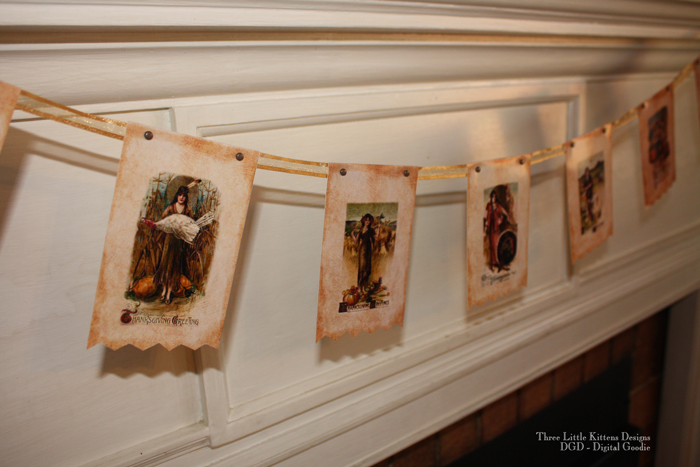
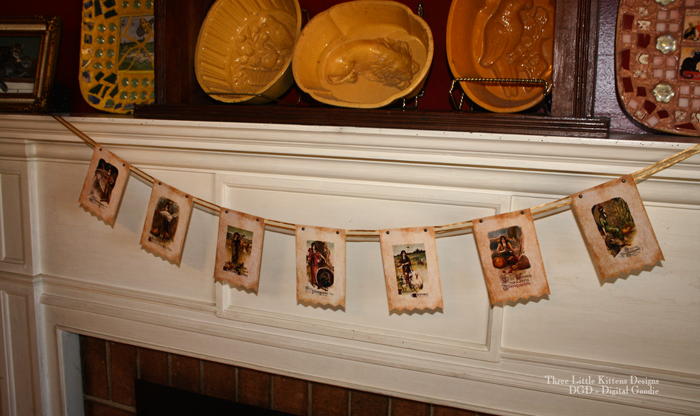
I tacked it up on my mantle and I am tickled. I think it looks great.
It definitely ended up being just what I invisioned for the mantle. And, this whole thing was done quickly and inexpensively. Not counting the printing, which will be the majority of your cost, depending on your ink and paper, etc., I did not spend more than probably $3. I already had the tools on hand, so those don’t count, but the spool of ribbon was under $1 and the brads were probably under $2 (I had them leftover from one of those mega packs that has a gazillion brads for one price.) And, not counting the printing and time it took for me to take all of these pictures, it took about 30-45 minutes I think to complete. It’s hard to say exactly, I took lots of pictures.
So, here you have it. My first craft/project post. Hopefully it will be easy for you to understand and I hope that you enjoy this banner and the images. But wait….the images….you need those, don’t you?!? Don’t worry, remember I said this would be a long post. All seven of the images are below. Click on the image to get to the full size png file. Oh, and if you haven’t yet, make sure that you read my TOU (Terms of Use.) Nothing complicated, just want to make sure that we are all on the same page when it comes to using Digital Goodies for your own Personal Use.
Let me know if you use this and send me a link if you post it on the web. Hopefully all the steps are there for you to complete. If you have questions, let me know. Here are the images! Click on the image to take you to the png version.
Image 1
Image 2
Image 3
Image 4
Image 5
Image 6
Image 7
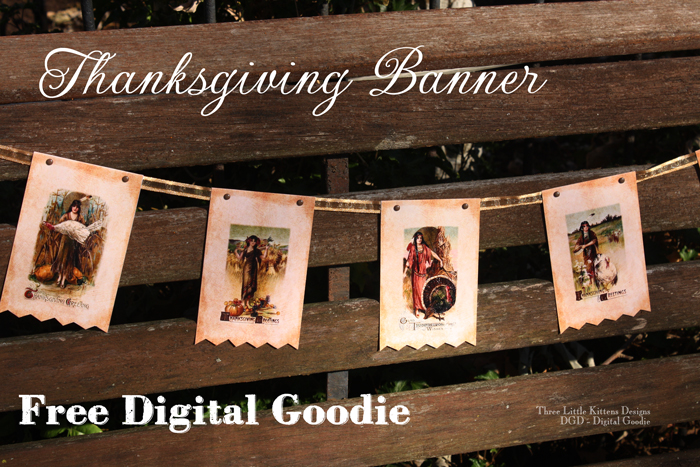
Thanksgiving Banner – Digital Goodie Craft
These are really lovely. Thank you for sharing.
You are welcome Cynthia! I enjoyed them again this Thanksgiving on my mantle. Merry Christmas!