I have been so ready for fall and I am super excited to share this fun craft project with you today. It is super easy, inexpensive and quick. That’s a homerun in my book!
[pinterest]
I love buntings and banners, I even have a board on Pinterest just for inspiration. They can be whimsical and simple to ornate and super fancy. I don’t know why I love them, but I just do.
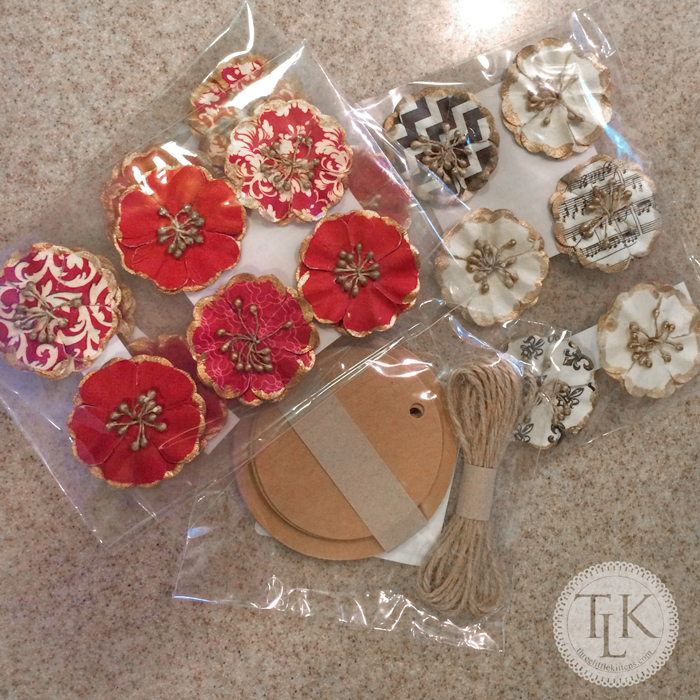
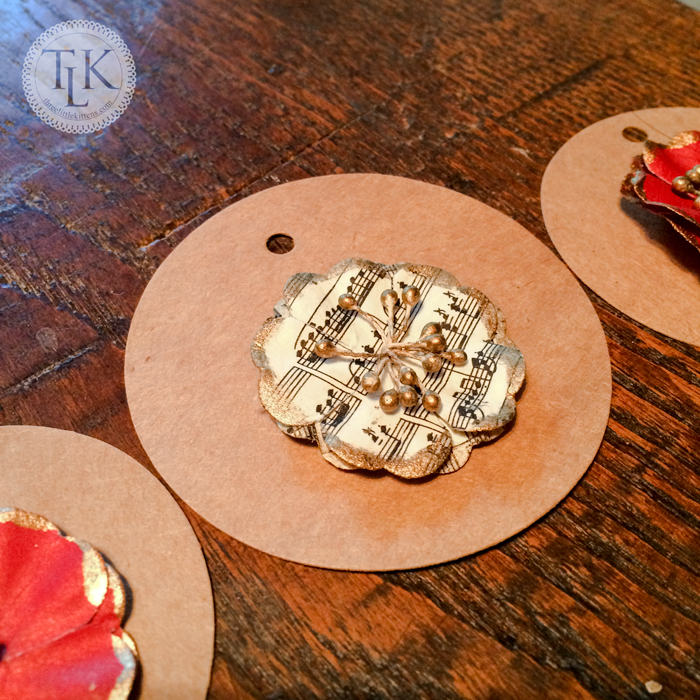
Well, last week I went to Michaels and found these adorable little Autumn Flowers in their $1.50 bins by the checkouts. I also found these cute little cardstock tags and immediately thought, BUNTING idea! My idea was to use the cardstock circles as a base, alternating large and small, with a flower attached to each one. And the tags came with about 9′ of twine which was another win!
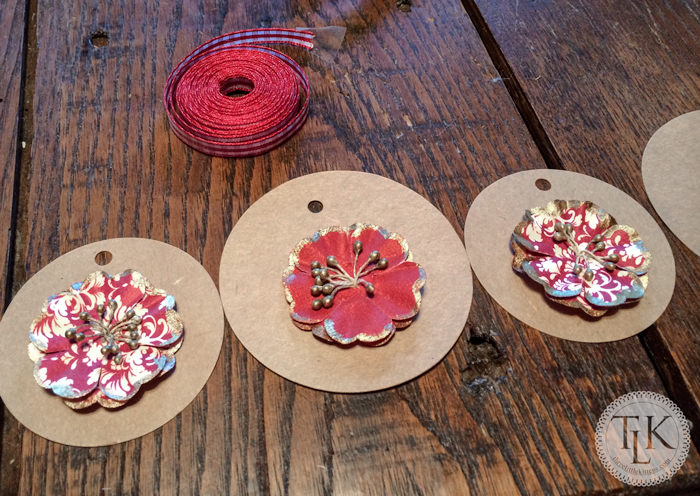
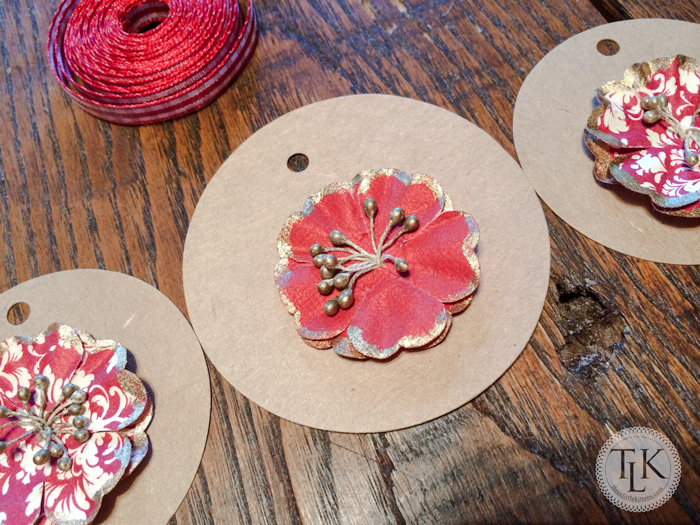
Attaching the flowers was easy, I just used some scrapbooking dots to adhere them to the cardstock circles.
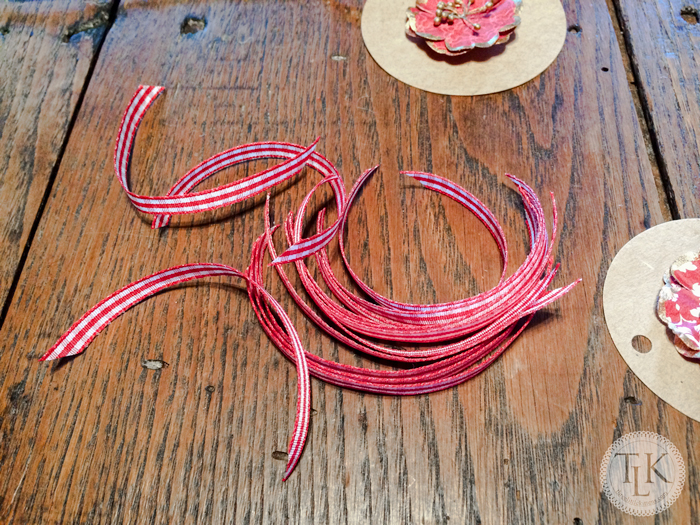
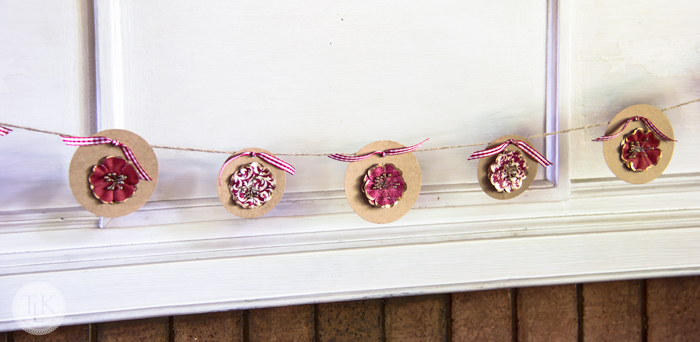
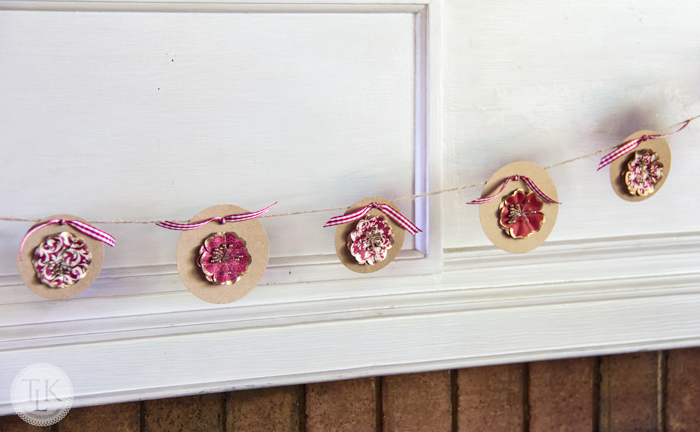
The flower petals have a gold/glittery edge. And you can see I found some red checked ribbon in my ribbon stash that I thought would be great for attaching the cardstock circles to the twine. Now this ribbon came from who knows where, I am a sucker for digging through dollar bins of ribbon rolls, so I am sure this didn’t cost more than a buck.
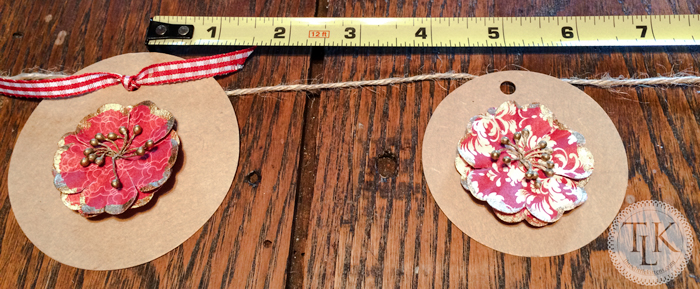
Once I had all the flowers attached, I laid them out to determine the order I wanted them to be on my bunting. Now you could also make this bunting with stuff you already have around the house, just factor in a little more time to cut the circles out. You could use stickers, rub-ons, or just pretty patterned paper instead of plain cardstock. You name it, this is a simple plan that can turn out so many different ways depending on what supplies you use.
I knew I wanted to use the ribbon to attach my cardstock tags and I knew I wanted to keep it simple, no bows or fancy ties. I cut my ribbon into five inch sections, one for each tag I would be attaching. My pack had 16 tags and I was going to use 15 because I like to use an odd number of objects for buntings.
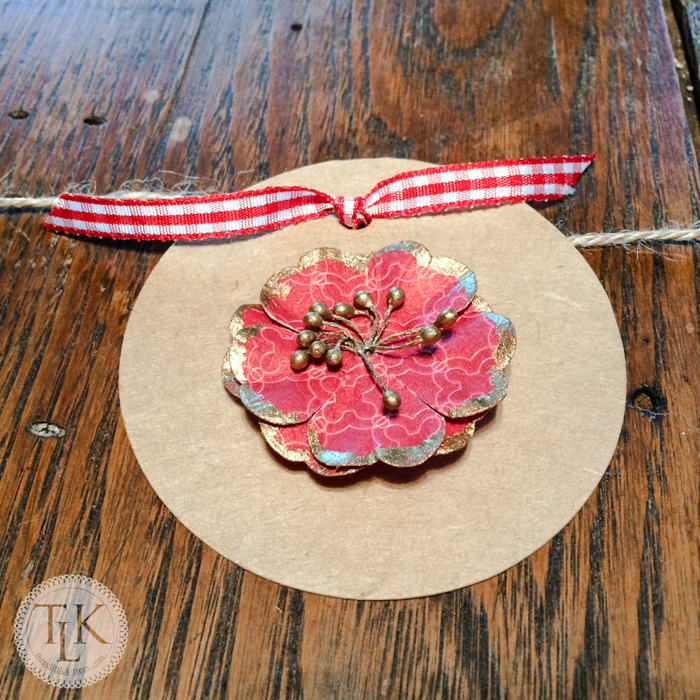
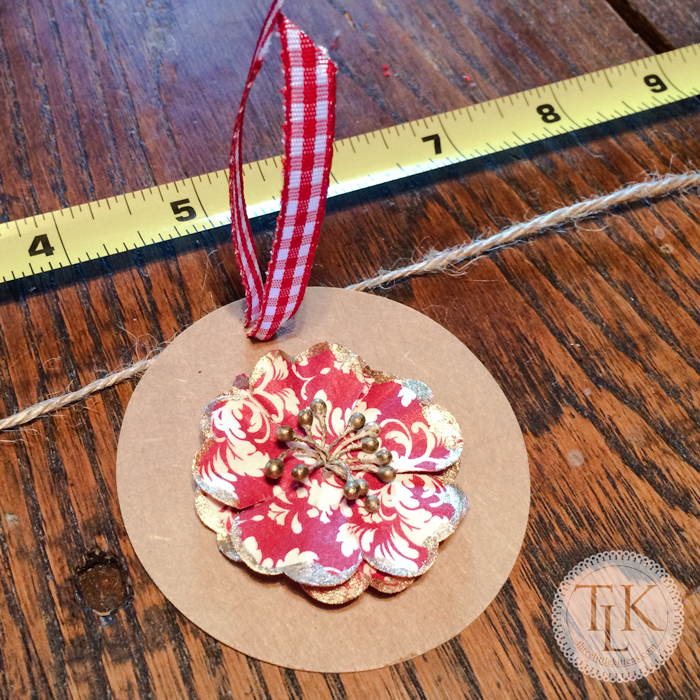
Since I am using an odd number of tags, I can start dead on in the center of my twine. Here you can see how my tag looks with the ribbon attaching it to the twine. And let me show you how simple this is to attach.
I also kind of eye balled how far apart I wanted my tags to be on the twine and decided on about five inches. You will have to figure this out based on what you are using, where you will be hanging your bunting, etc.
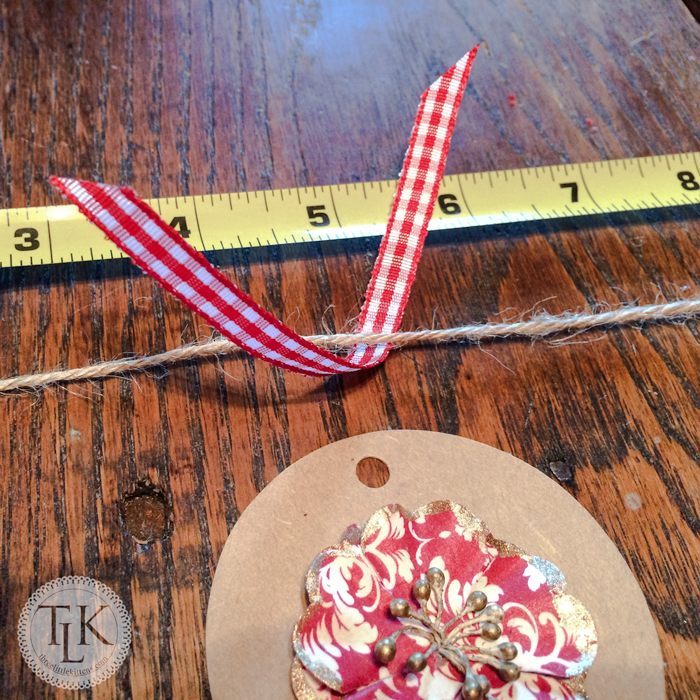
Once you have determined where you want your tag to be attached, simply fold the ribbon in half around the twine.
Then pull both ends through the hole on your tag to the front of your bunting.
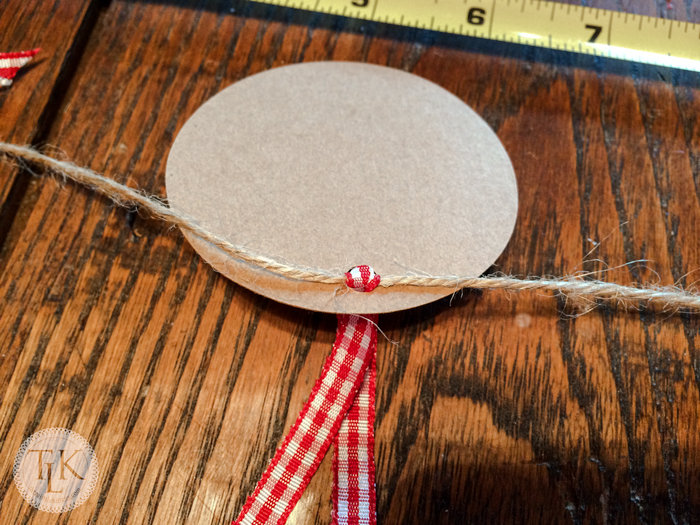
Here is what it will look like on the back side.
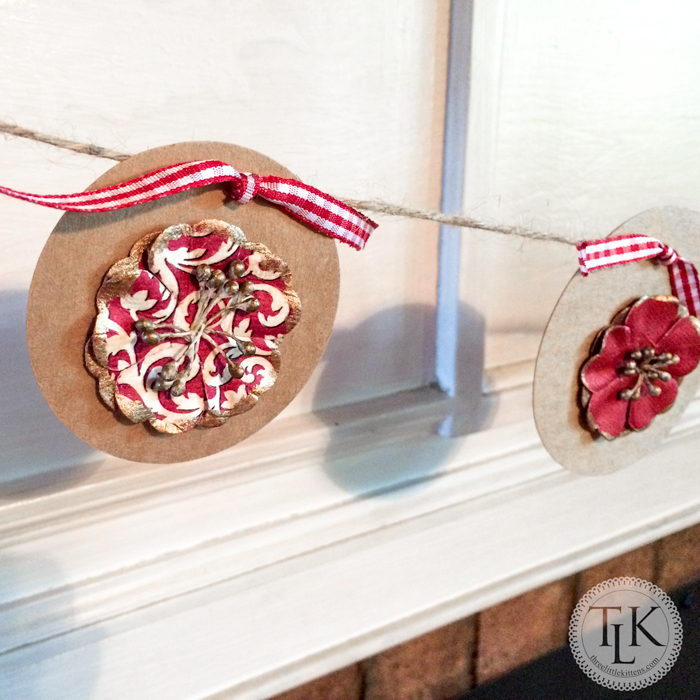
Then you simply tie a knot in your ribbon and you are done! I didn’t tie mine extremely tight in case I needed to adjust the distance between tags later on. That’s the nice thing about attaching your tags this way. They will always face front, no sideways or flipped tags and because it is not a tight knot, you can move them closer together or farther apart, depending on your needs. When you are finished attaching all of your tags, you are ready to hang your bunting.
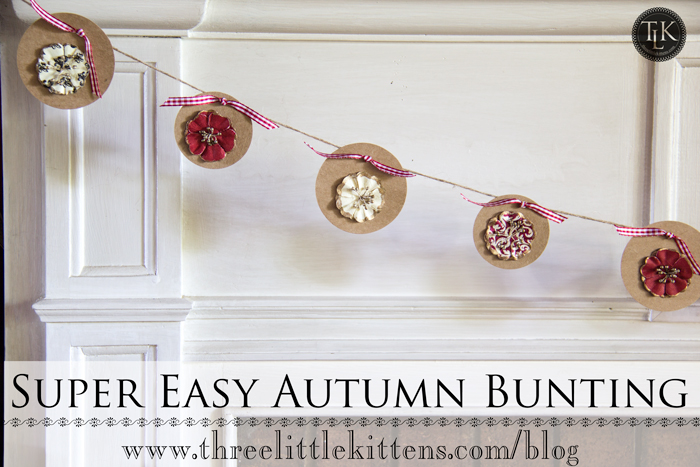
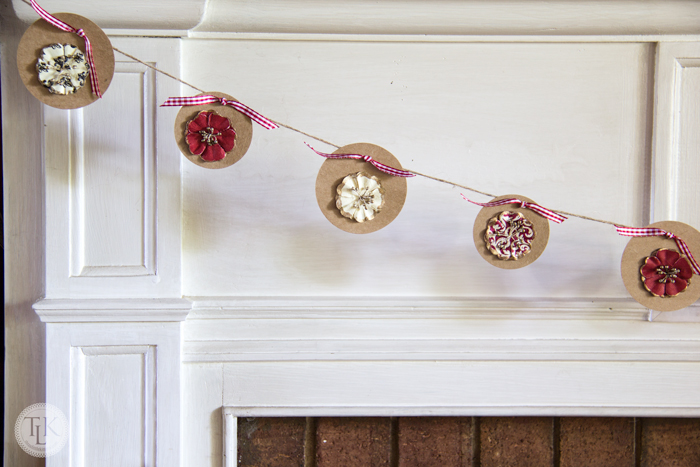
I really like how it turned out. The flowers in reds and creams are not too summery and add a different hue to fall decorating.
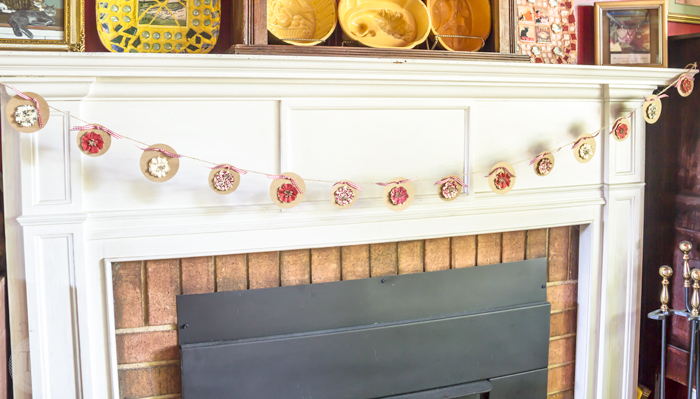
Here you can see my bunting on my dining room mantel. It is simple and not overpowering.
And to think, I spent $4.50 (minus 15% off entire transaction with coupon) at Michaels and $1 for the ribbon, and I didn’t use all of that, so this whole project cost around $5.00. Not bad!
As for time, it took probably less than an hour. I did take a little time to snap pictures.
[pinterest]
Thanks for letting me share my Super Easy (and Inexpensive) Autumn Bunting with you today!
Linked up with Best of DIY!
This is not a sponsored post. These supplies just happened to come from Michaels.

Leave a Reply