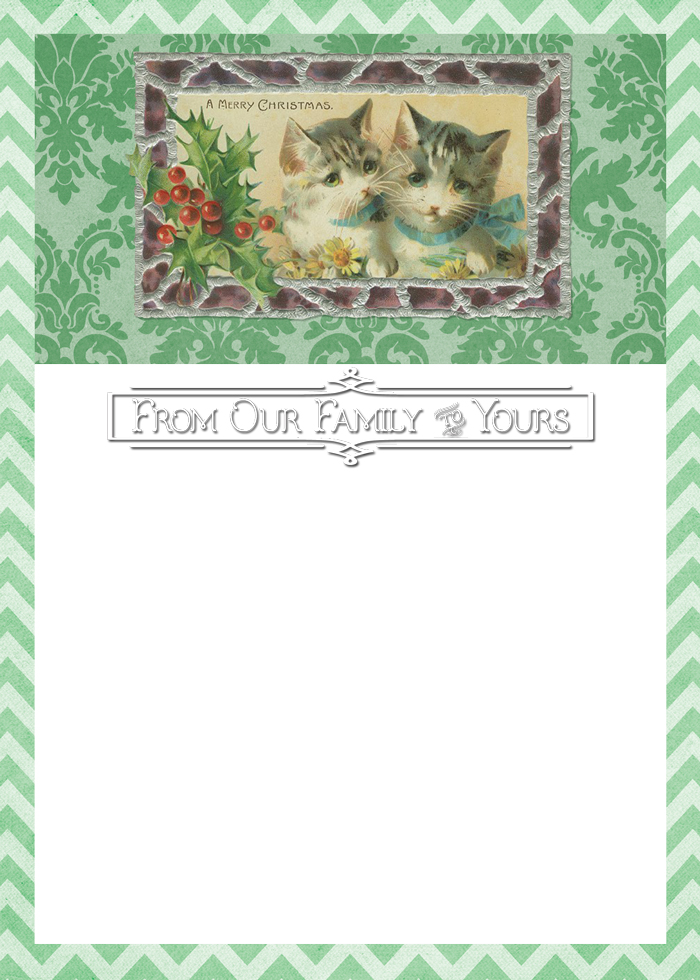
Are you ready for Christmas yet? What you say? I know it’s not even Thanksgiving, but it seems I keep seeing lots of folks starting to get ready. I see lots of sneak peaks on blogs that I read and on several I have seen references to Christmas Cards. You know, the kind that you actually send through the U.S. Mail, with stamps and everything. Well, I thought I would share a template for a sweet little Christmas Card with you today. Just click on the image below to get the full sized .png file.
[pinterest]
This uses an image from a vintage post card in our collection along with some digital scrapbook papers and allows you to insert or add your own family photo using Photoshop or Elements, or any program that works with layers.
[pinterest]
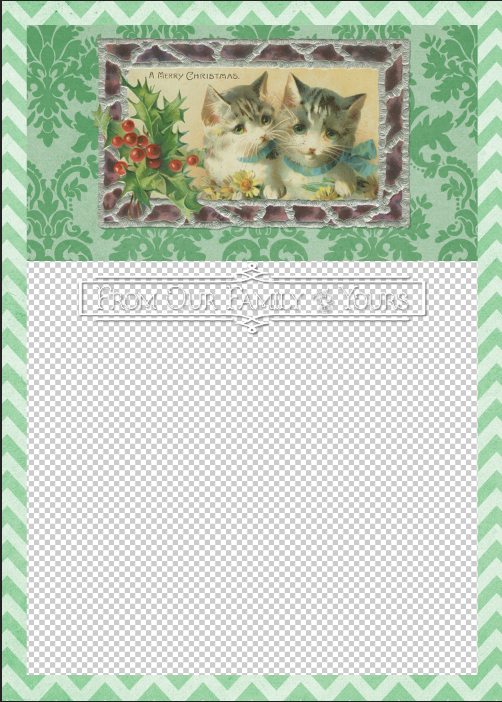
What you actually get is a 300 ppi, 5 by 7 file in .png format, as seen above. If you are not familiar with .png files, they offer transparent backgrounds and are perfect for adding to layered projects. The gray and white checkerboard area (see above) indicates where that image is transparent in Photoshop. You simply layer this file over your photo and you have a simple and easy Holiday Christmas Card! Notice the decorative box surrounding the text and the text – this will overlay onto your photo.
[pinterest]
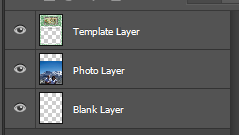
Now I am not going to give you a tutorial on how to work in layers but you can search and easily find many tutorials, like this one here. After you open the file in your program (I use Photoshop CC) you need to add a blank layer underneath and then add your photo layer above that one. There are multiple ways to do this, another reason I am not giving a tutorial, but you get the idea from the image above. By placing your photo under the template, you fill in the transparent space of the .png file.
Just move your photo to the desired location in that space and then save your file. Note, make sure that you do not see any of the checkerboard space when you add your photo. If you do then you will have a white space when you save your card for printing. When working in layers I will usually save my work file in case I want to come back and make changes later. This will ensure that all of my layers are visible and editable when I reopen. Then I will save a copy of the file as a .jpg or .png to print, which will compress all the layers into one layer. To ensure that you can easily have your card printed, save at least one copy as a .jpg file, one of the more common printing file extensions.
Now you are ready to print your cards! The 5 by 7 size is perfect for folded cards, one sided post cards, etc., and is one of the more popular sizes most printing companies allow.
[pinterest]
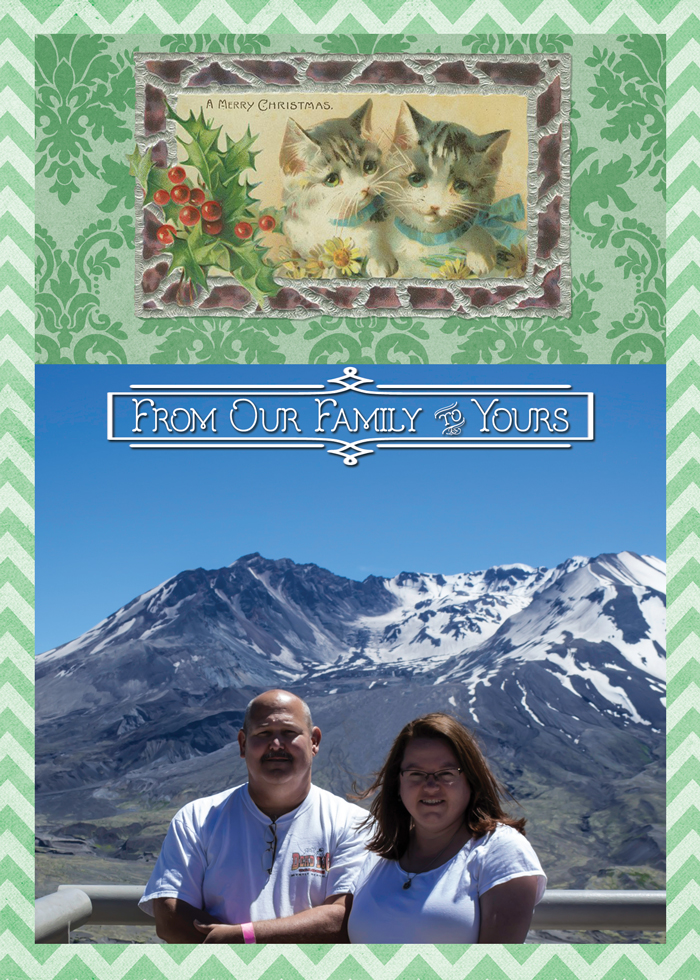
Here you can see how the card looks with our picture added. Have fun with this template! It is free for personal use. Just think, if you use this and create your Christmas Card now, you will have one more thing checked off your To-Do List!


Leave a Reply