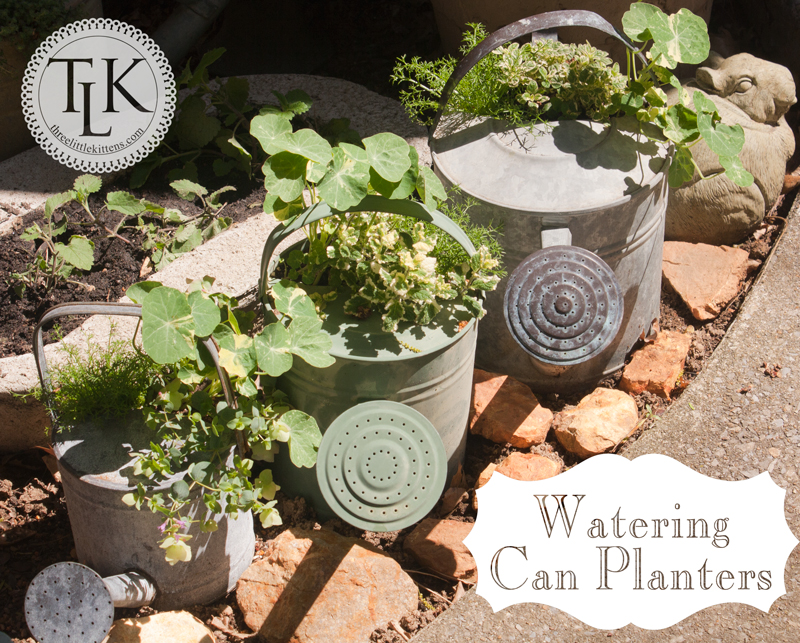
Last week I told you that we went to Walter’s Greenhouse for their annual Spring Open House. I also told you that I wanted to get some herbs for a project that I had in mind. Well, as you can see, the project turned out well and I love my “new” vintage watering can planters filled with herbs.
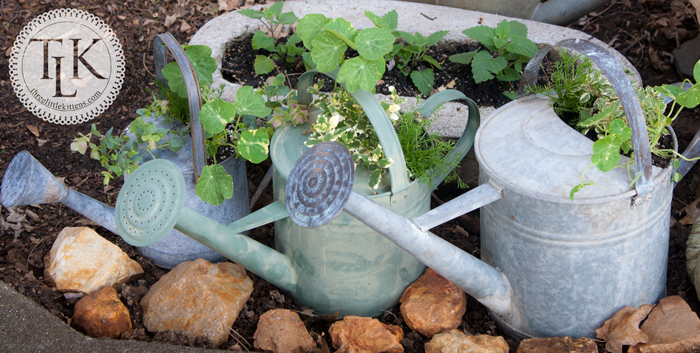
My friend Monica gave me three watering cans that had belonged to her mother and I already had one that was missing the “rose” at the end of the spout. I had been thinking of using that one for a planter for a while but just never got around to it. When I got these from Monica, I knew this was the sign telling me it was time to make them all into planters.
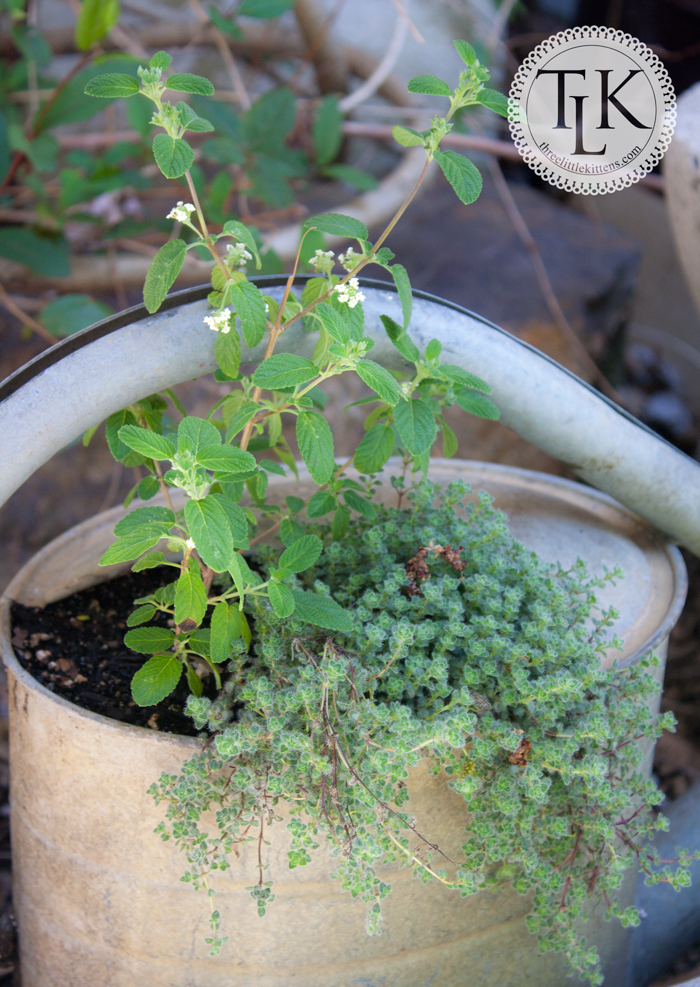
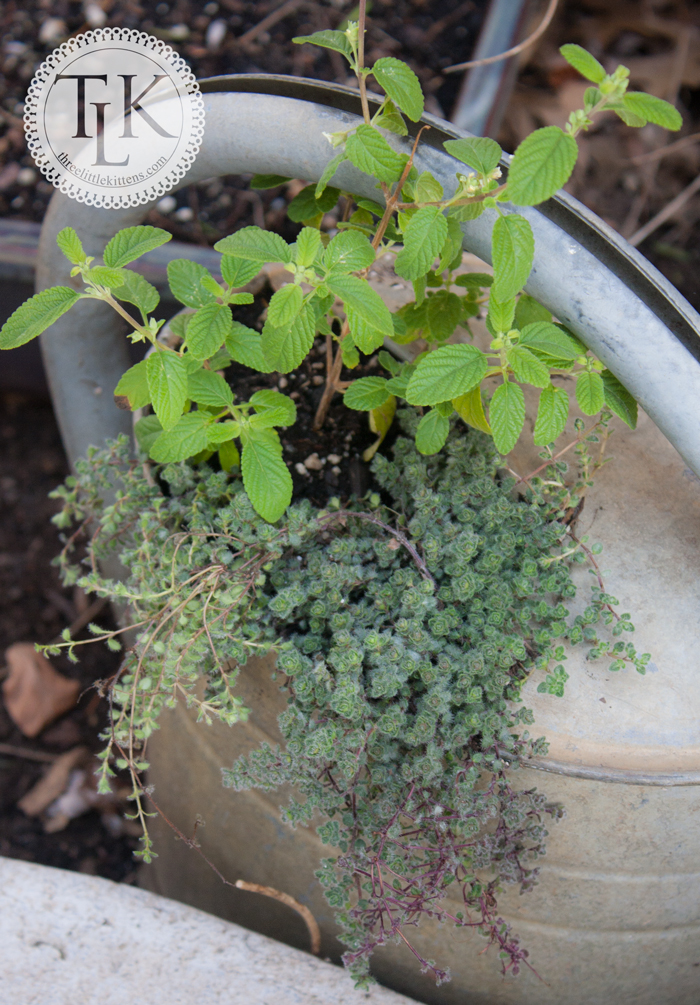
This is my original can that was missing the rose. It is the largest of the group. When looking for herbs at the greenhouse, I figured on three for each can, except for this one. It had the smallest opening and I knew Iwould not be able to fit three plants in such a small opening.
It was really simple to create these. I bought a bag of rocks from the local garden center (we didn’t have enough in our yard to do all the pots) to use as fill for the bottom half of each pot to help stabalize them since they are so light weight. I used the entire bag between all four planters. Then, depending on the size of the pot and the size of the root base on the plants, I had to determine when to start putting in some good potting soil on top of the rocks. I had to just eyeball this part; each pot was different and so were the plants. I basically left enough room for the depth of the largest root system plus about an inch or so for dirt.
After I had the inch or so layer of dirt on top of the rocks I started placing dirt in the can where the spout was, backfilling to the opening where I inserted the plants. I figure this will provide extra root space and help retain moisture. As you can see, in my big can with the small opening, I planted Mexican Oregano and Wooly Thyme. I then filled in the empty space with potting soil until my planter was full. I may throw in a few basil seeds when it warms up enough to start them outside to fill in any gaps.
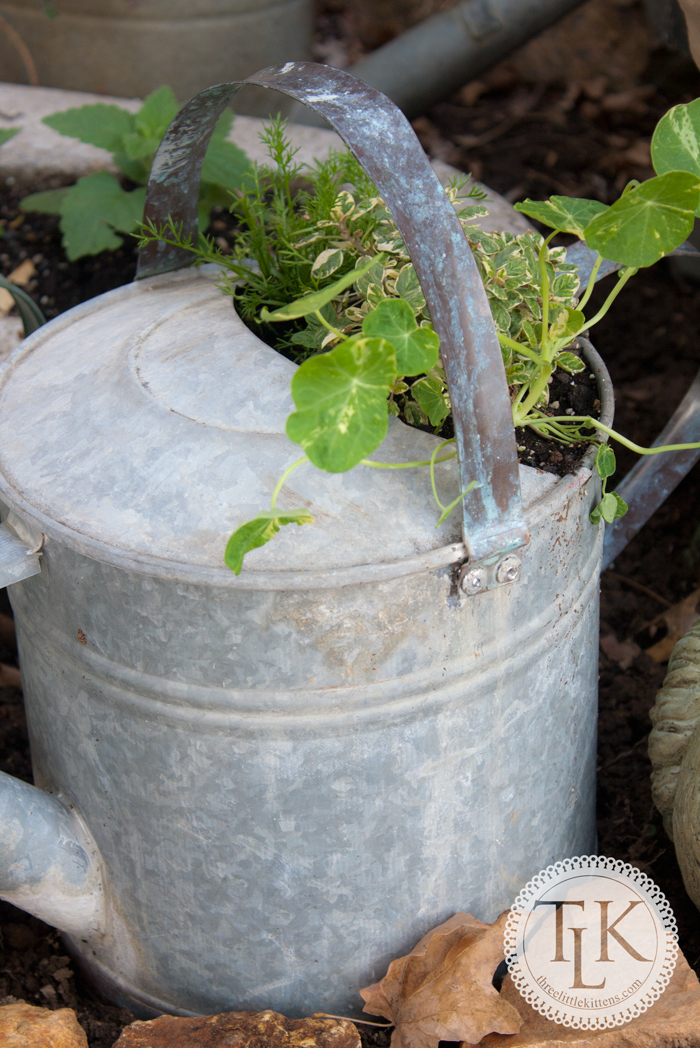
The largest of the three planters from Monica was filled with Alaska Nasturtiums, Variegated Oregano and Roman Chamomile. This picture was taken not long after planting and the Nasturtiums were a little stressed.
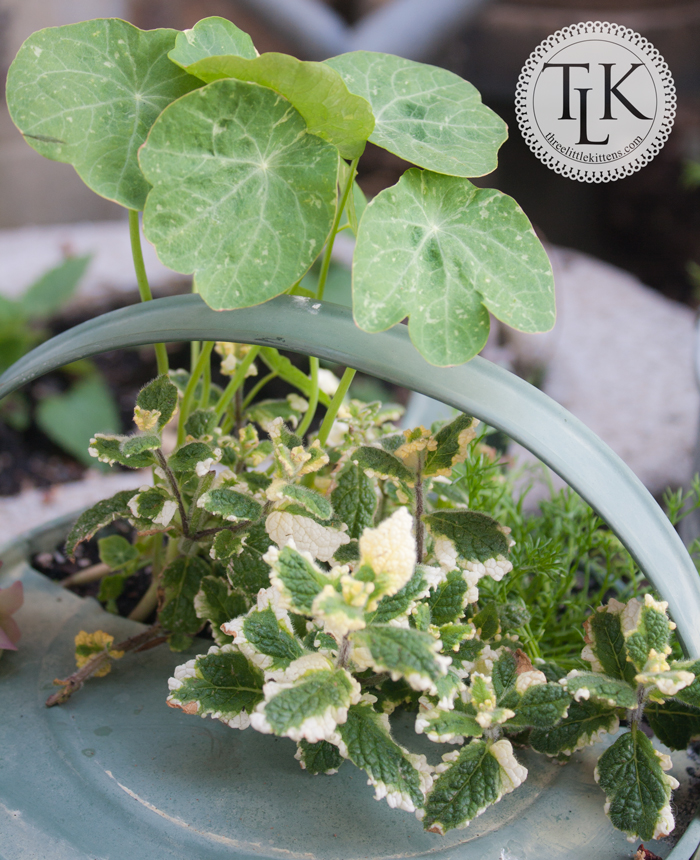
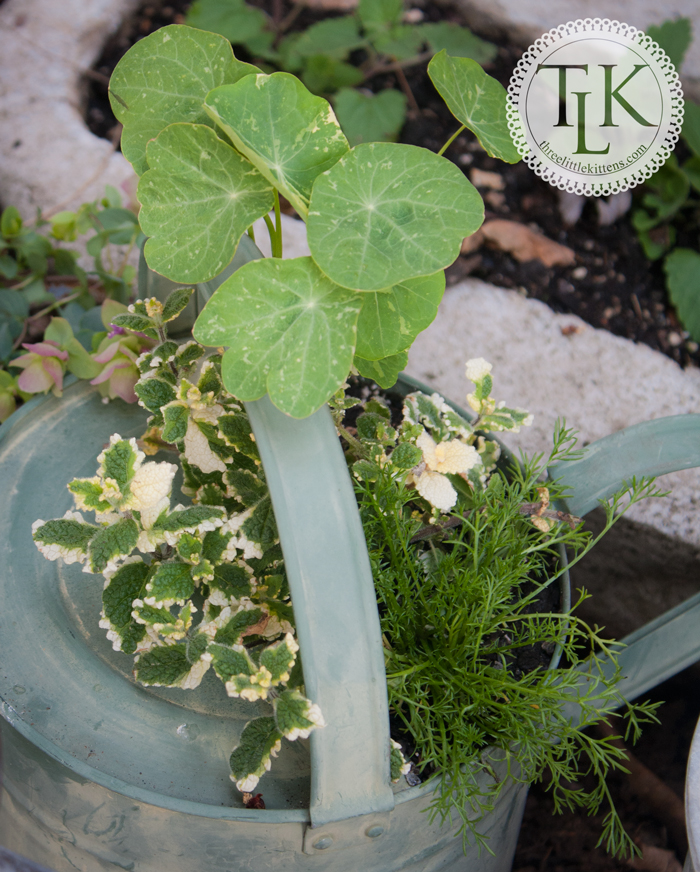
I filled the green middle size planter with more Roman Chamomile, Alaska Nasturtiums and Pineapple Mint. I think the variegated leaves of the mint really contrast nicely with the green can.
And if you don’t know already, containers are the best place for mints if you don’t want them to spread. I cannot wait until these start to fill out.
The last and smallest watering can was the one I had to be most careful with. I only filled the bottom inch or two with rocks and then started with my potting soil before adding plants. I will probably have to keep a close eye on this one.
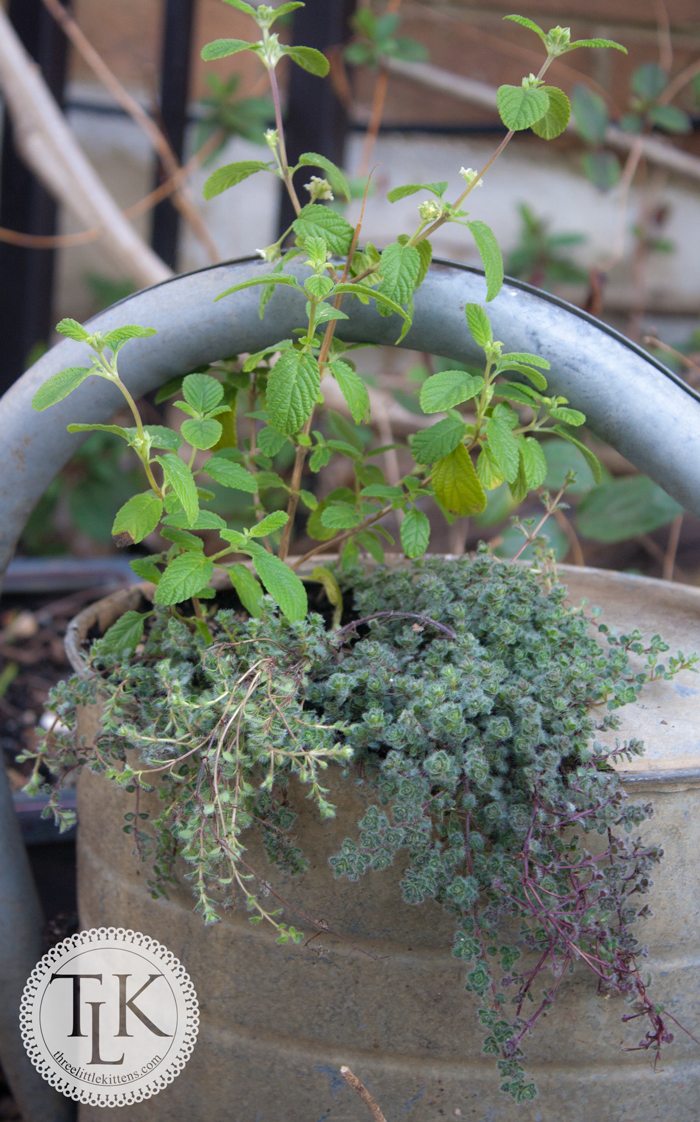
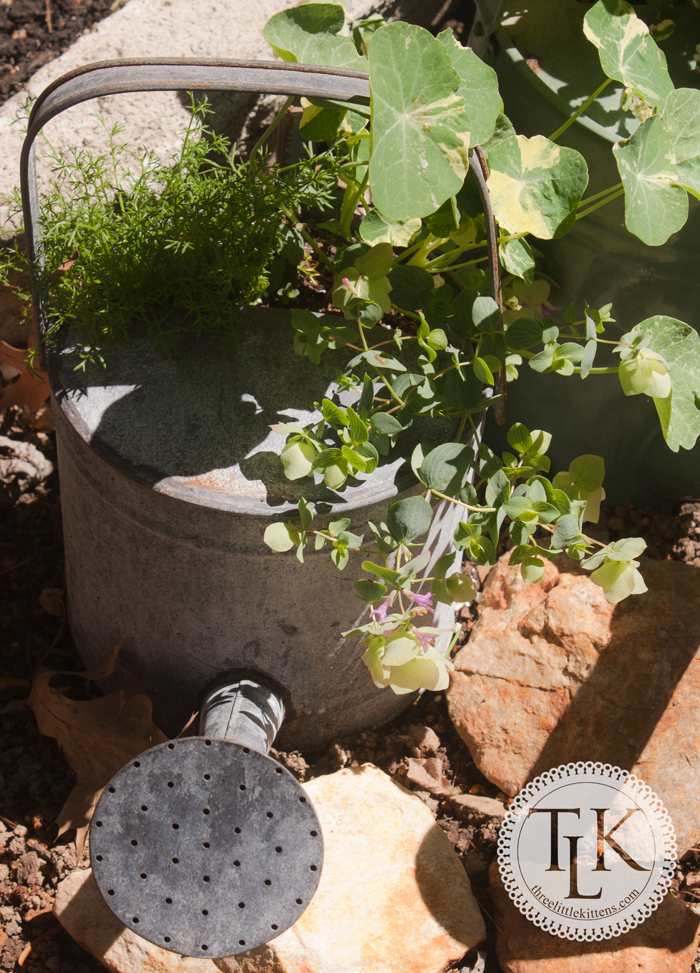
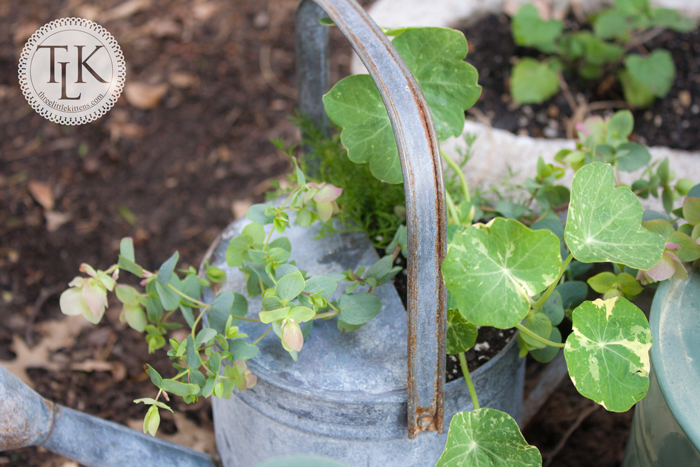
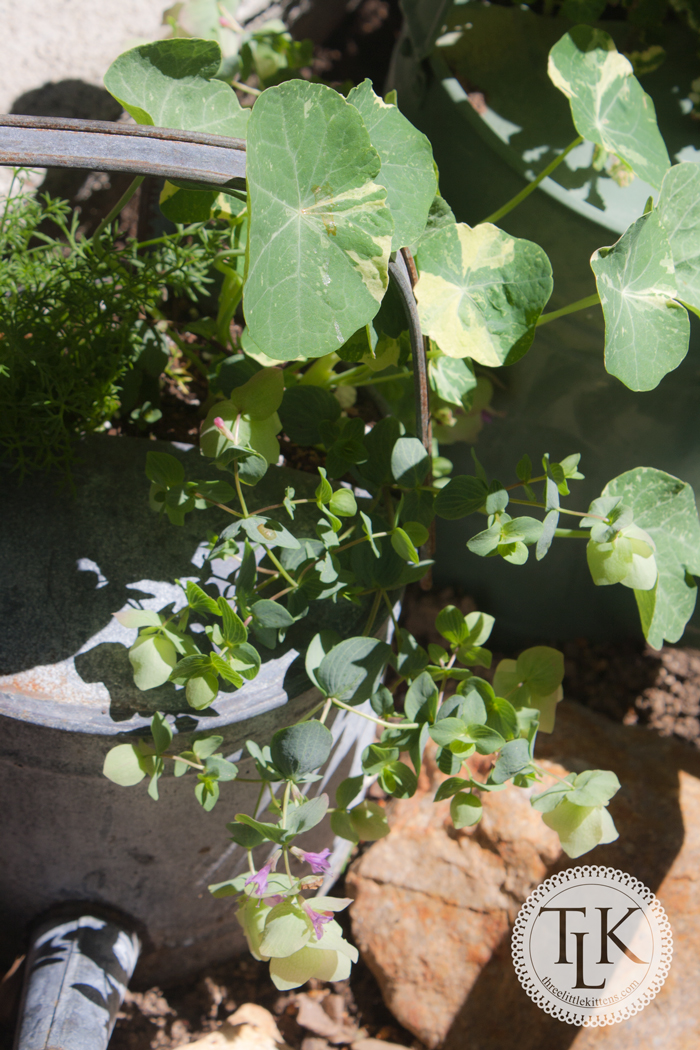
At the greenhouse I found a most wonderful Barbara Tingey Oregano to use along with the Alaska Nasturtiums and the Roman Chamomile. I love how it drapes down the can and how it has those tiny purple flowers.
This oregano is more ornamental and the hop-like bracts start out light green and then as they age are supposed to turn a rose pink shade. I have these planters right outside the kitchen door for easy access when I need a pinch of something to add wonderful flavor to a dish. And, they are not just functional, they are pretty as well. I like how my project turned out and hope that you are inspired to find something unique to recycle into a creative garden planter.
[pinterest]
Leave a Reply