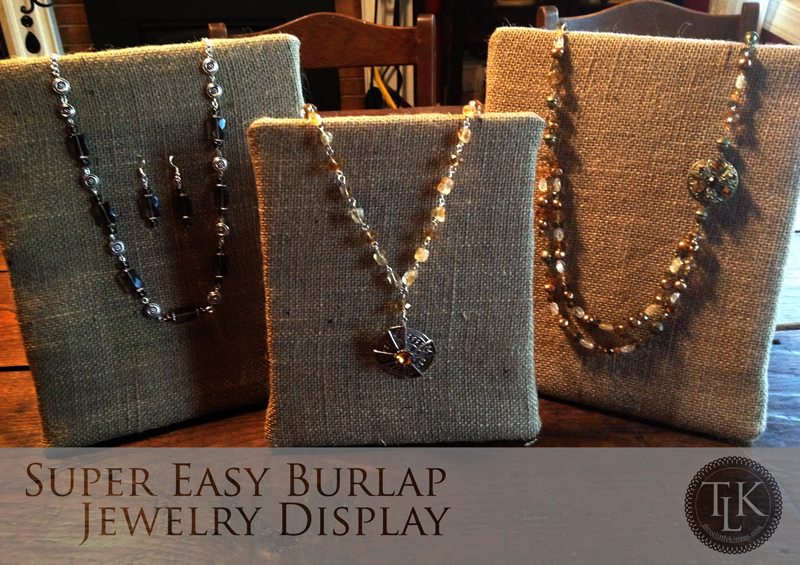
Yesterday I participated in a craft show where I set up and sold my jewelry. The theme was fall country primitives so I wanted to change up my display table to reflect a little more casual and rustic look. And since burlap is all the rage, I knew it would be the perfect item to incorporate into my displays, but how? I already had several jewelry forms and did not want to cover them in burlap (although they would have looked super) and I did not have time to tackle a project like that. Then it hit me, I saw some burlap framed squares at Walmart and wondered if I might be able to do something with them.
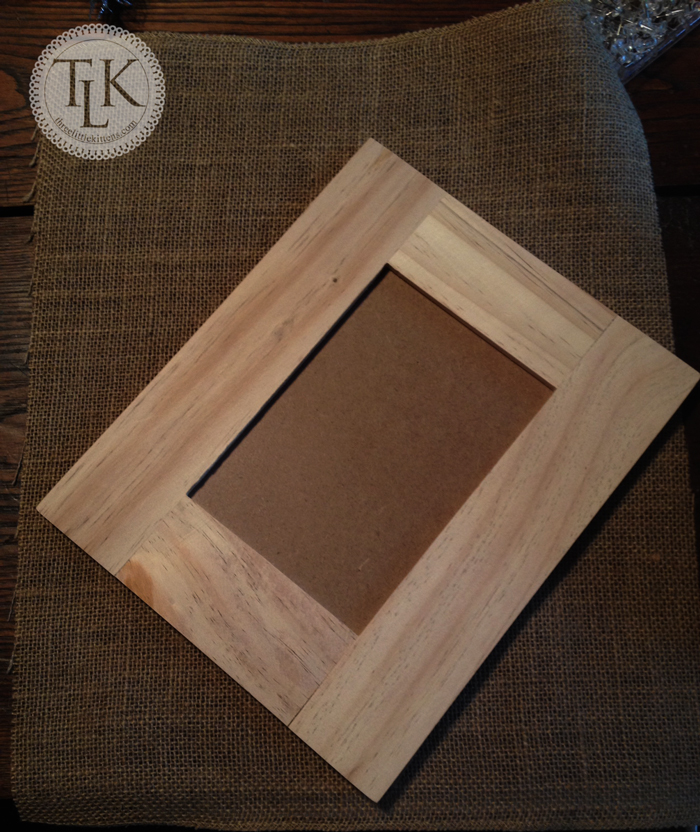
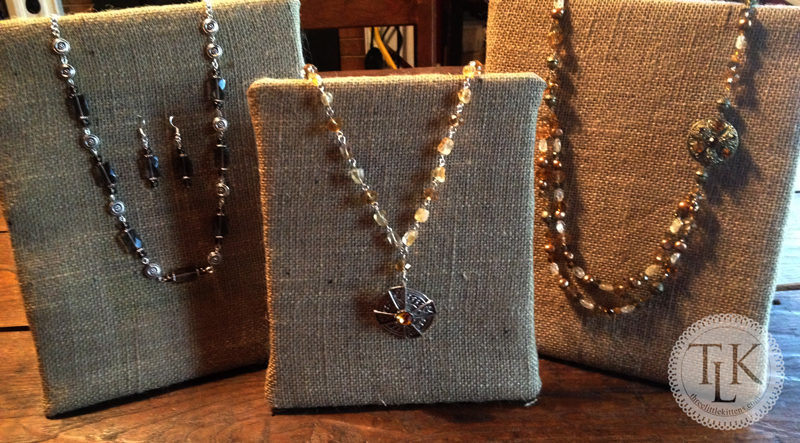
So, I went to Walmart to look at the frames again. They would work, but I would have to buy a stand to support them or rest them against something, so I was kind of bummed and I really wasn’t sure that being square they would look right with a necklace in the middle. I thought they might have a little too much blank space for what I needed. But then I found this roll of burlap in the Christmas section and some cheap unpainted wood frames in the craft section. Viola! I could cover these frames and use them. Plus, they were not square and would look better displaying necklaces and they had their own stands attached to the back.
First I cut a piece of burlap to fit around my frame, with enough to have about 2 inches on each side on the back.
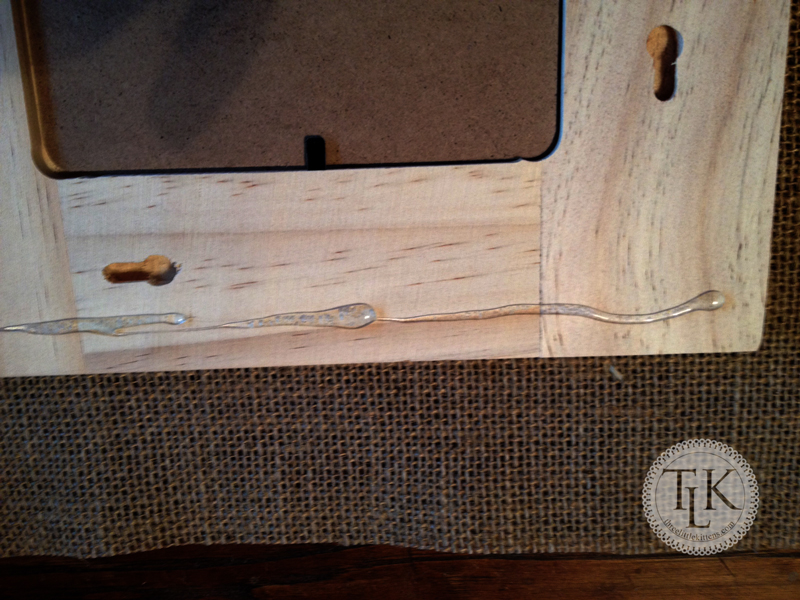
Then I simply used hot glue to attach the burlap. I could have used my staple gun, but these frames were thin and my staples were deeper than the frame. But other than hot glue stuck to my fingers here and there, hot glue did just fine.
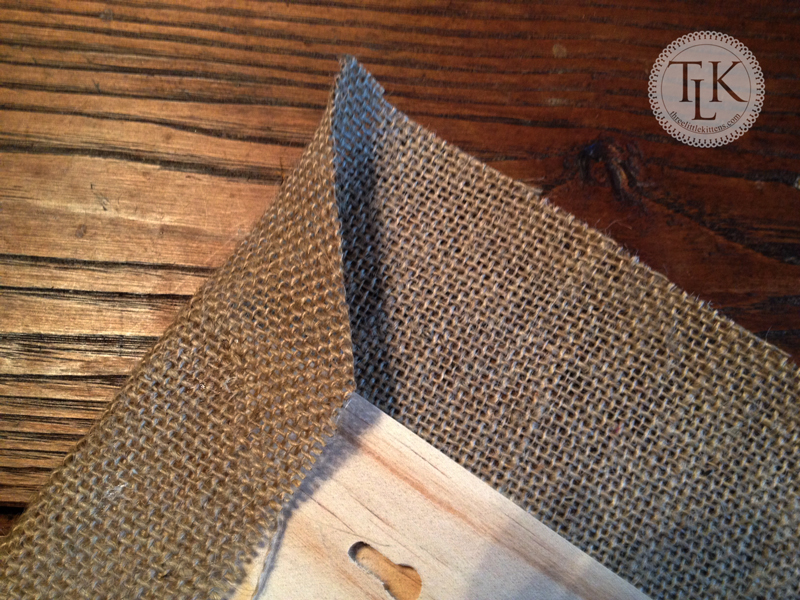
I trimmed the corners to reduce some bulk. And did I mention I decided to make these on Friday, the day before the show? Needless to say, I kind of hurried through making these, but in the end they worked and everyone loved them.
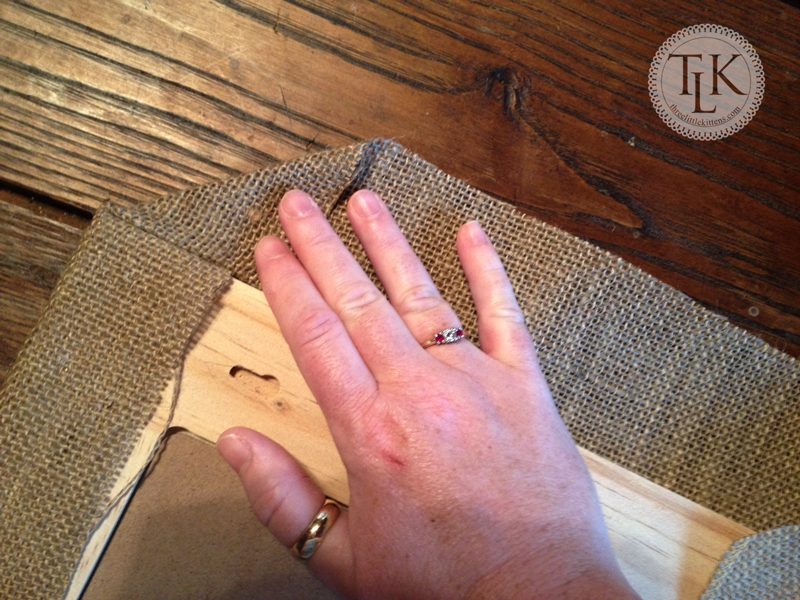
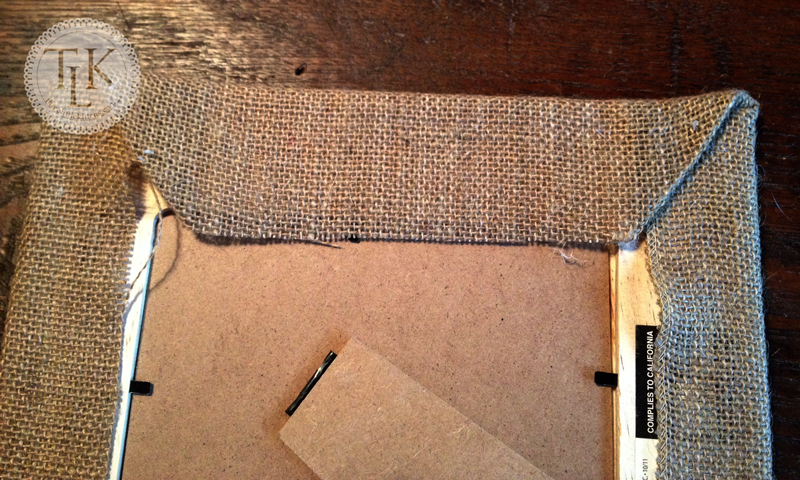
I just kept moving around the frame, folding in each corner that was trimmed so the back would not be too bulky.
And that was it, pretty simple. I just glued each side of the fabric to the back, stretching lightly as I glued so that it would be taut on the front.
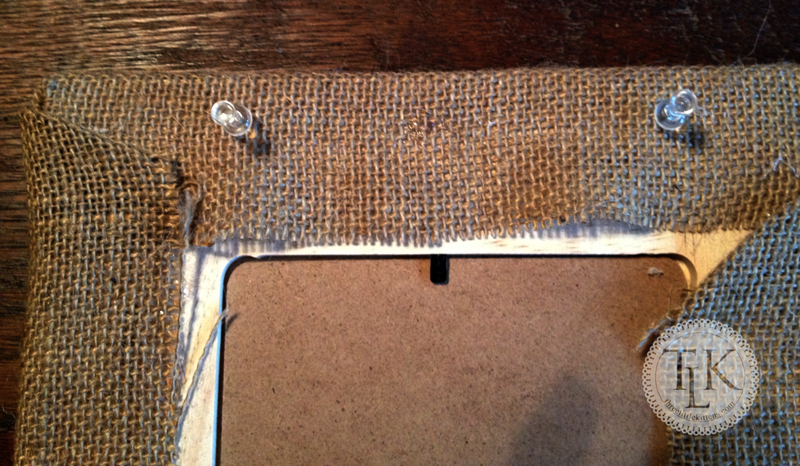
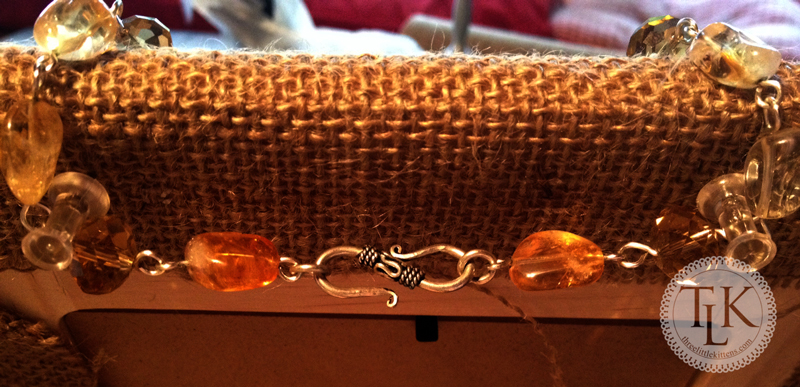
I also added two pushpins to the top back of each frame to help secure the ends of the necklaces. On my jewelry forms, they have a clip or notch to do this. And the pushpins can be moved as needed, depending on the link of the chain.
Here you can see the hooks holding a necklace in place.
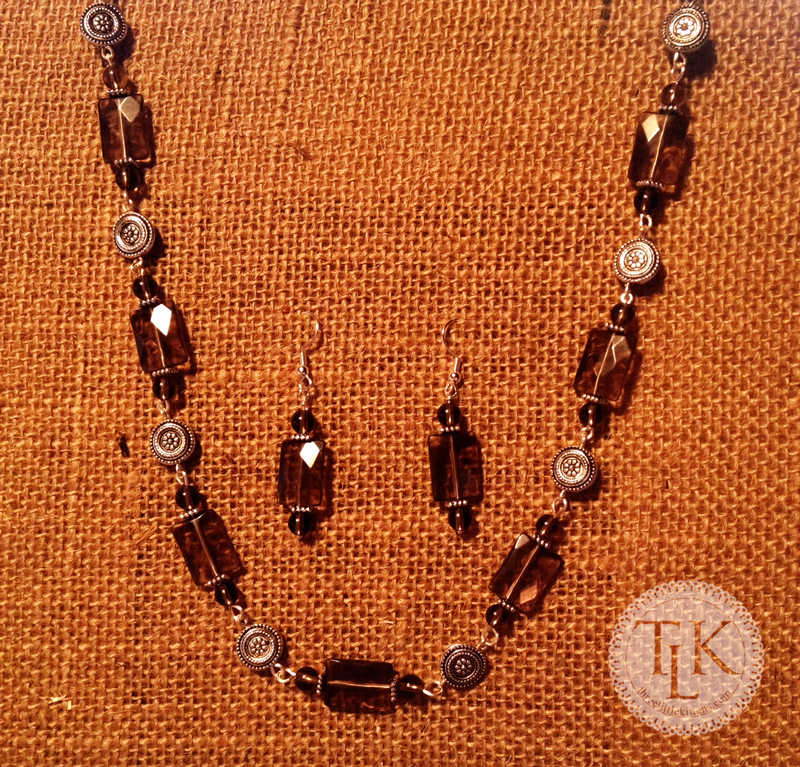
And as an added benefit, there was a space on the front side where the photo would normally have been displayed that was indented, so I could display matching earrings by simply slipping the ends through the loose weave of the burlap.
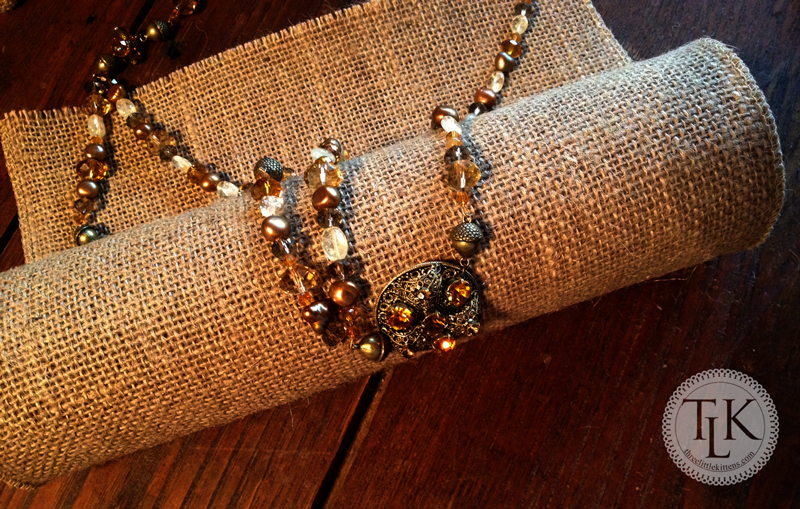
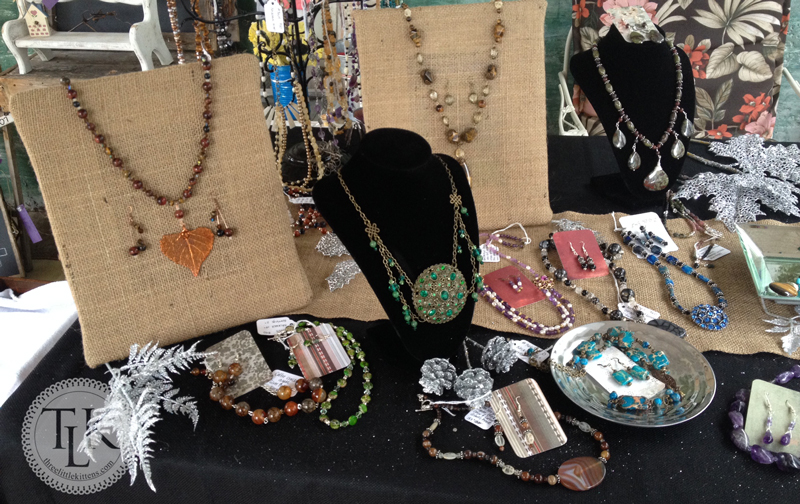
Walmart had two different sized frames that I used: two large and one medium. I love how they turned out! All I had to do was trim up the ends and they were ready to go. And I had enough of the roll of burlap leftover to use as a runner on my table, tying in the displays to my version of a rustic, fall look. And the best part about it all? It took less than $20 to create. That’s my kind of project! Below you can see how they looked at the show.
I normally use black tablecloths with silver glitter and accents. I really like how the burlap accessories turned out. They did a great job of displaying my jewelry. And it was super easy and super inexpensive to create!
Those displays turned out great! Thanks for showing how you made them!
Thanks Dara!
So clever! Thank you for sharing your jewelry holders at the Best of DIY link party!
Thank you so much for stopping by!
Innovation at its best. Thanks for sharing
Thank you Verona!
Thank you for sharing. I have an upcoming event this weekend and was looking for more ways, on a budget, to display my jewelry. Your idea helped us out a lot! Again, thanks for paying it forward!!!
Note: I did use batting I had on hand so the front of the frame wasn’t so exposed.
Karen,
Glad I could help! And adding batting is another great idea~ Thanks for sharing! Happy Sales!
Regards,
Teresa